
Before we went to Mexico, I posted a `wanted` thread on ClubGTi for a replacement engine. I NEEDED a new block, pistons and crank. I already have all the other bits, although a complete engine would give me a few more spares..
Had a PM from `Chaps` who told me he had an engine that had been sat in a corner for years, head off and no ancillaries that I could have for £75. He was only an hour away, so after he`d sent me a load of photos of the block, I agreed and went over to collect it once we were back from holiday.

First job was a quick strip and inspect of the block. Mains removed, bearings looks in fantastic condition.

Big end a little worn.

Piston Skirts in remarkable condition. Hardly any marks from touching the bores !

This is the worst one..

Crank out, nothing amiss.

Lower half of the mains still in good condition

Genuine VW Thrust bearings, again, minimal wear.

Crank.

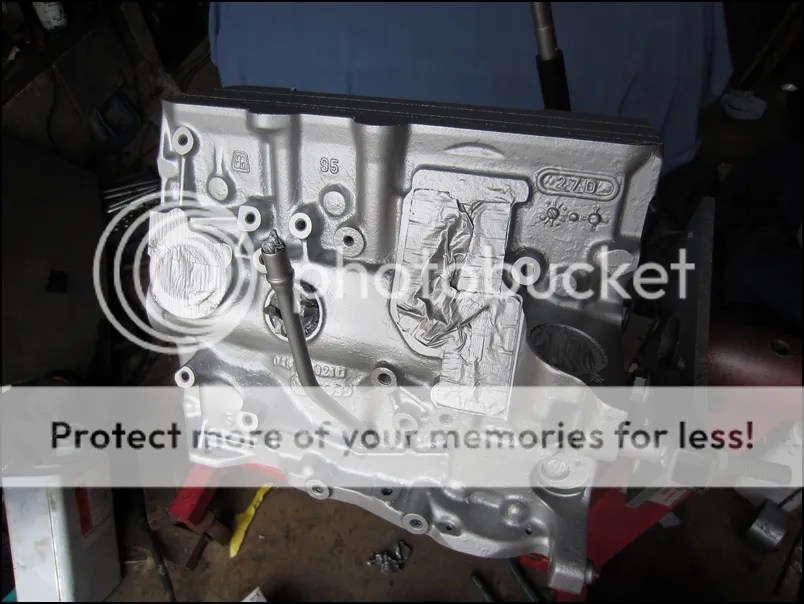
Now onto the Block itself. Hmmm, as it had been stored without a head on, there is some surface corrosion between cylinders 2 & 4

Bores look in good condition though

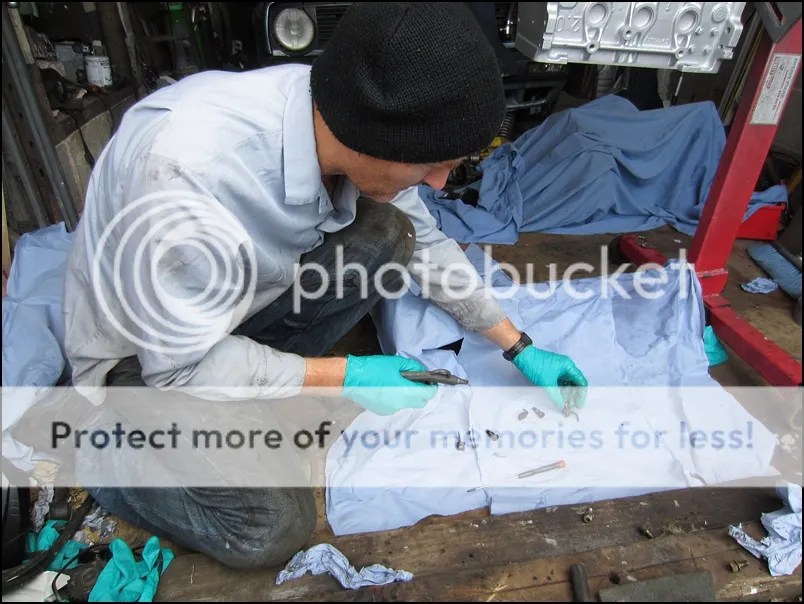
Matt helping with a final strip

I gave a the block a degrease and started the thankless task of removing the old paint


Took it for the block skimming and bores re-honing in Cat`s Mini.

Once the block was picked up, it was masked up, prepped and given a spray. Matt Kindly pointed out where `I`d missed a bit….”

Block was now ready to start the rebuild.


Cylinder head rebuild.
Although I had a `spare` cylinder head on the shelf, ready to fit, I wanted to keep that incase I ever need a head `at short notice`…
The Head I`m going to be using. A bit grimy.


Removed the cams then the valves

Whilst disassembling, I noticed one of the valves had been running with only ONE spring !

Valves out

Everything kept i order. I know it doesn`t really matter, I`m just methodical.


Inlet valves were pretty clean.

Exhaust valves a bit grubby. These were cleaned up (although I don`t appear to have a photo of one afterwards..?)

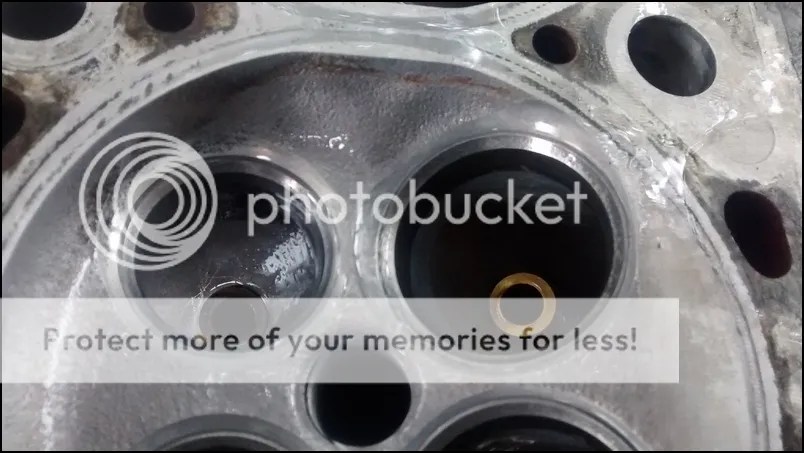
Combustion chamber had quite a bit of build up. The exhaust seat / port was particularly bad.

Degreaser, cleaner and various cleaning products wre used. Along with an old tooth brush.

Getting better.

That`s an improvement

Also degreased the top of the head, followers etc.


I wanted to replace the valve stem oil seals, so welded a couple of bits of tube to some old pliers

Gripped the seal and pulled

Ta da !

Quite a lot of carbonised build up under the seal

Head was taken for a skim, it needed it, slight low point between cylinders 2 & 3.

To refit the new valve stem oil seals, a deep 7/16″ socket is perfect


It just presses on the outer metal, NOT the seal itself

With a simple extension bar, the seal can be pushed onto the stem

All done.

The followers were stripped and soaked in degreaser then petrol

Carbonised build up on the centre

Cleaned

Valves LIGHTLY lapped in with fine paste an minimal lapping until the seat had a nice continuous band. That was all, no more than necessary.
Rebuilt the head.

Pistons removed from the new block ready to be cleaned.


After much scrubbing.

Halfway there

Ringlands clear of old carbon build up.


Crank end plate


Oil pump shaft cover


Intermediate shaft cover


Basically, I cleaned EVERYTHING I could, properly, before even looking at rebuilding the block.
ALL the oilways / waterways were throughly blown clear to ensure NO debris was left behind.


Oil squirters were blown clean too

Oil squirters fitted

Main bearings fitted and assembly lube applied

Crank lifted into place

Plastigauge added to main bearings


Bearings about to be fitted over the plastigauge

Caps fitted, torqued down and then carefully removed.

Tolerance is 0.17mm. These caps are in such good condition, they are only at ~0.038mm

Nowhere near being 0.125mm

All remnants of the plastigauge carefully removed, assembly lube liberally applied.

Mains torqued. Accurately.

After the issues with the previous Rods, I`d be stupid to refit them or similar ones.
I`m not stupid, so I bought some Integrated Engineering Rods.

I paid an extra $100 for them rifle-drilling.

They also come with GENUINE ARP Bolts.

Pistons ready to be fitted to the conrods, with new C clips, new rings and new Glyco big end bearings.

Gudgeon pin fitted, C clip fitted (what a pain in the backside they are !)

Ring in the bore, no photo with feeler gauge. it was blurred. I DID check gaps, obviously.

I checked the gudgeon could spin in the piston and the conrod. One was a little stiff in the piston, but a replacement gudgeon pin must have been a tiny bit smaller and allowed smoother rotation, as per the other 3.
Piston being fitted into the block.

New big end bearings lubed and ready to be fitted

Consult supplied instruction for assembly instructions.

50ftlbs on a certified torque wrench.

Tightened 3 times as per instructions.

Turned crank ready to fit the next piston, but felt some odd resistance. Tried it the other way and I could feel something…
Removed the piston and after a little investigation spotted these 2 witness marks.


The conrod neck alsoshowed signs of touching.

The rods are 30mm wide and are JUST touching the bottom of the bores here.

The VMI rods were only 28mm wide, so that 1mm per side is enough to cause contact.
Quick drawing.
The OEM conrod clears the bottom of the bores, the wider `BLUE` conrod would foul the block and needs a couple of mm of material removing as highlighted in RED.

I wasn`t expecting that, so spoke to a mate who had the same rods in an ABFwho I knew had ie rods. He`d had exactly the same issue ! After advice from several people, including some engine builders and Integrated Engineering themselves, I was comfortable removing some material from the offending area.
That meant I had to remove the crank, oil squirters and Main bearings.
I have a few spare blocks I could practice on…

Removing material.

More clearance.

After much practicing, emailing photos to various people until I was sure I was doing it right, I tackled the new block.

Took off just over 1mm. Seeing as the rods were only 1mm wider than the previous ones (which didn`t foul), I`m pretty confidant there won`t be any issues this time.
Obviously, this meant I had to degrease, clean and blow it all clean again…

Rebuilt as before, no issue and the rods didn`t touch the bores.
All pistons fitted, mains and big end bolts marked with paint pen once torqued so I know what has / hasn`t been done.

Intermediate shaft fitted. Oil pump cap fitted. Just about to fit the oil filter housing.

Block with all external oilways covered, head gaskets in place.


Head in place. Bolts after ONE 90-degree stretch, one more was done after this. Again, I mark the head bolts once torqued so it`s easy to check which have / haven`t been turned 90 then 180 degrees.

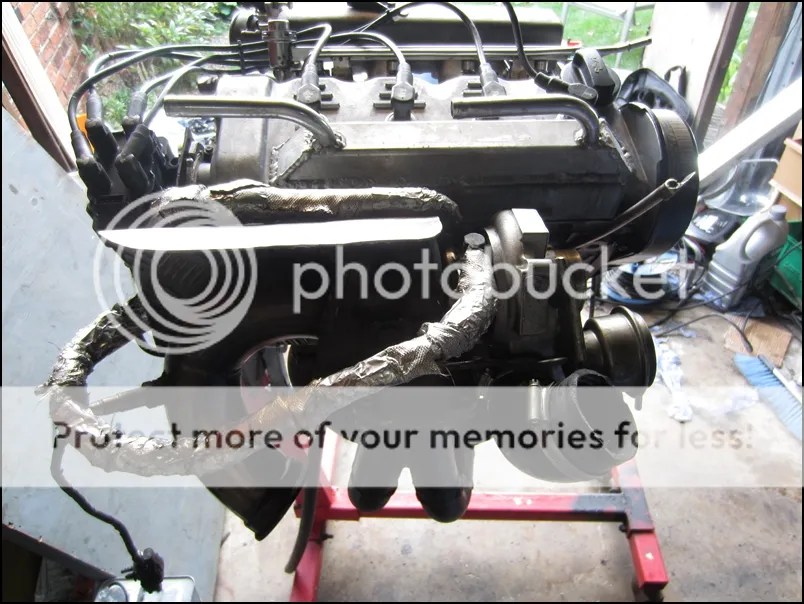
Ready to refit the exhaust manifold

The Turbo V band was loose. I managed to get FIVE tuns on this nut !

Added a locknut to keep it in place.

Big thanks to Prawn for this. I was talking to him about finding the V band loose, which was causing the exhaust gas to escape as spotted on the Goodwood underbonnet video. He pointed out that the loose V band meant the exhaust housing was loose, this had allowed oil to get past the seals, into the exhaust housing on idle and then smoke badly on acceleration. Exactly the same symptoms HE had, his was a cracked housing, but the same looseness and smoke after idling.
I knew the smoke at Goodwood was new, but hadn`t really been able to diagnose it. Prawn correctly put 2 and 2 together and pointed that out to me 
Timing belt fitted. New rocker gasket ready for rocker to be fitted. Note pain pen marks on torqued cam caps.

The exhaust U bend had a couple of welds protruding into the gas flow. There was a noticeable build up on each weld.

Die grinder soon fixed that.

Engine ready.


New crank seals at both the timing belt and end behind the flywheel

New flywheel bolts.

Before fitting the gearbox, I put a long bolt through the tapped hole highlighted on this photo

This sits infront of the release arm and keeps it out of the way whilst fitting the gearbox. I`ve had occasions in the past, before I did this, where the release arm / bearing moved whilst trying to fit the gearbox to the block. Doing it this way, then removing the bolt once the box is bolted up is a better way.

Clutch and flywheel fitted.

Once everything was built up the engine was lifted into the bay. Not the oil cooler is bypassed for the running in period with the hose used as a U.

Strong magnet stuck to outside of the shorter Polo oil filter to assist capture of any metal debris from the running in process. Whilst there shouldn`t be any magnetic material floating about in there, it won`t hurt to be safe.

Refitted !

Filled with Mineral oil, built oil pressure without plugs, it started first time and sounded awful ! Always does with new followers as they fill up with oil, but is really does sound terrible at first !!
I took it for a 12 mile drive to start the running in process. Car pulled fine, no smoke and superb oil pressure. at 2,000rpm it was 4 Bar, from 2,500 upwards it was sat at 4.5Bar?