I swapped from the Megasquirt 2 ECU I`ve run for the last 8 years to a new DTA S80Pro over the winter. The DTA ECU offers quite a few features I was interested in. The most appealing was boost-by-gear, multiple boost target maps and a very good traction control system. I don`t plan on relying on the TC system, but having the option to turn it on on a wet and slippery event is something I’d like. ABS would be nice but I don’t have that.
The loom was supplied by DTA and was a simple plug-and play setup. Everything was labelled and it made it as close to a plug and play solution as I could ever have.
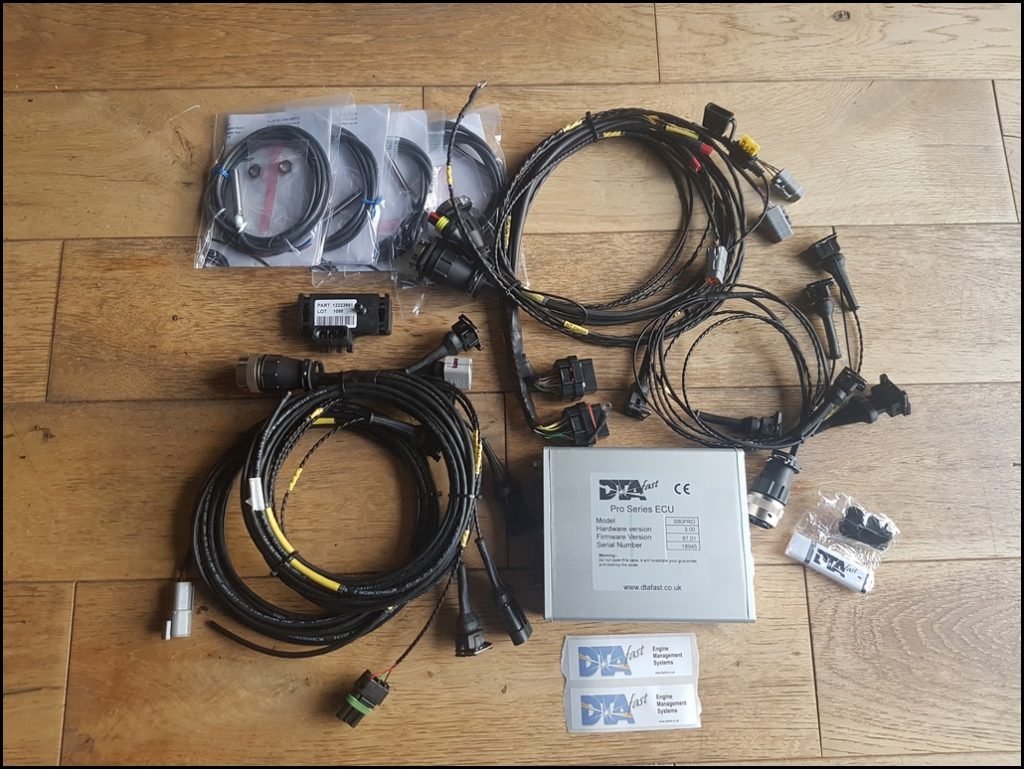
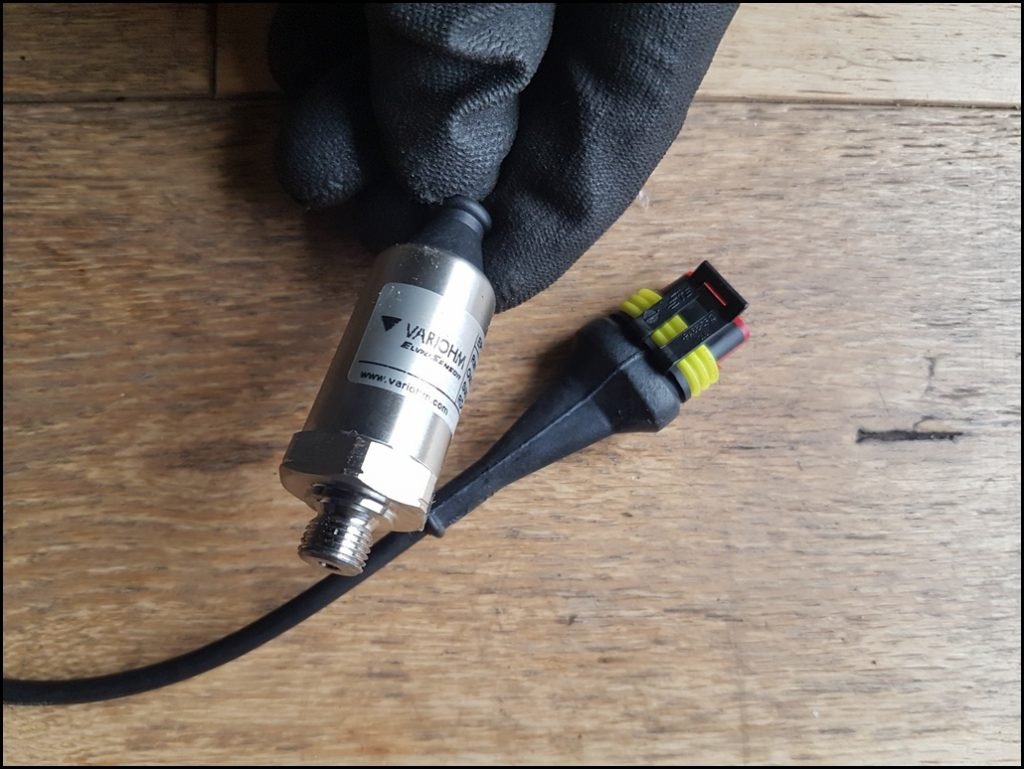
The ECU has loads of analogue inputs, want to measure oil pressure ? Simply fit the 0-10 Bar sensor to a suitable point on the engine and plug in the oil-sensor wire. The ECU was already configured an I immediately had a measurement of oil pressure in the ECU. I set alarm points for the sensor and that can either illuminate a warning light on the dash or cut the engine in the event of low oil pressure, everything is user definable. Same for fuel pressure and brake pedal pressure which I hope to be able to use as a driver improvement aid.
Loaded a base map and turned the key. It fired up straight away.
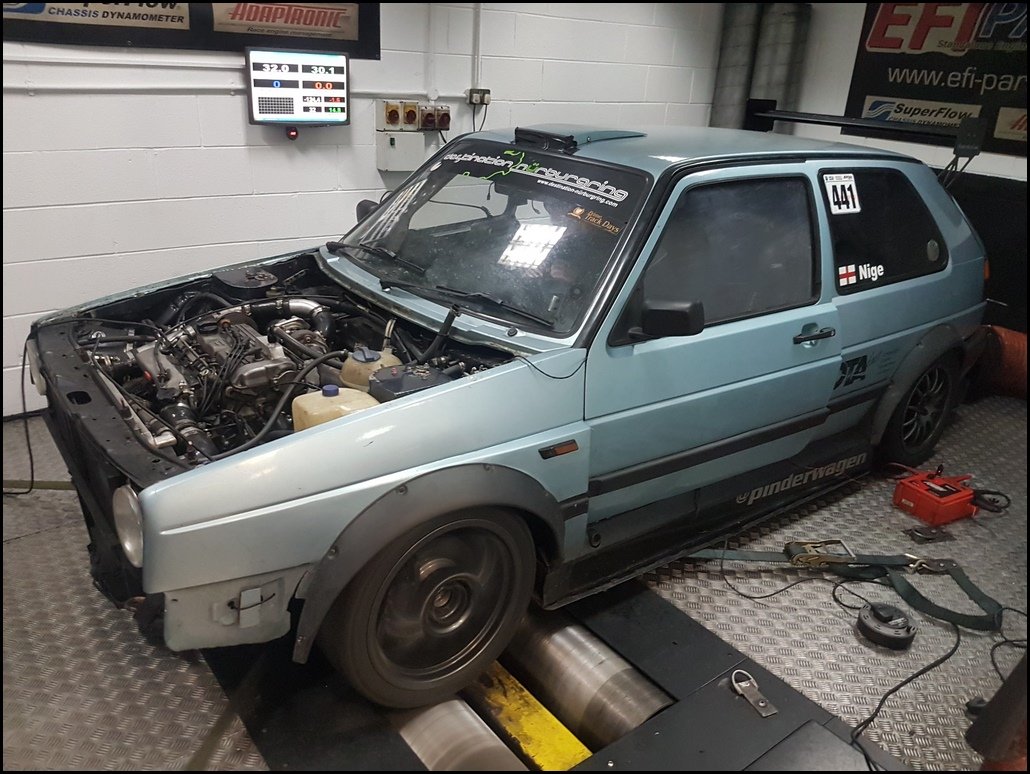
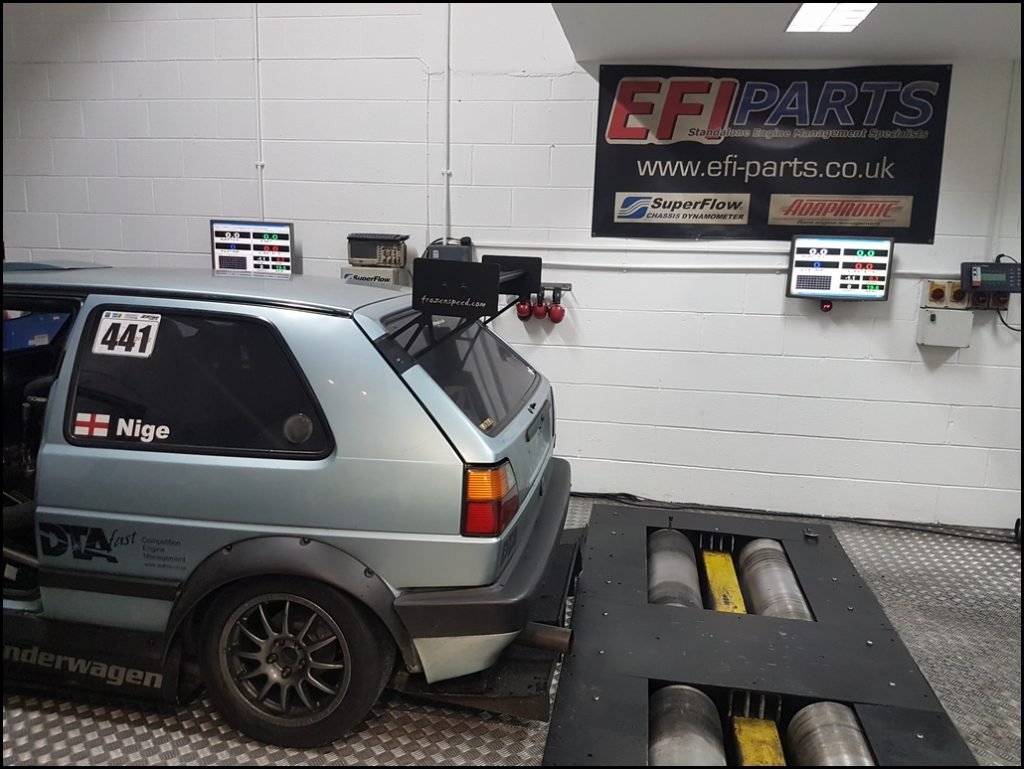
After speaking to Alex at DTA about mapping he recommended Chris at EFI-Parts.co.uk so I booked in a slot and drove across on Saturday afternoon.
When we arrived Chris gave everything a look over and asked about the engine setup. 2.0 16V, fully forged bottom end, 630cc injectors, tubular manifold, external wastegate, full 3″ exhaust system, TD04HL-19T Hybrid Turbo.
He asked what I thought it would make and when I replied around 350HP he instantly replied that he’d never seen a 19T make over 340, so 350 would be pushing it.

Chris was a little concerned about how low the car was and the wheels would usually sit between the 2 rollers but the side skirts meant it would most likely `bottom out` if we tried doing that.
What he suggested was sitting the driven wheel on top of the roller and strapping it down, it means he can strap down cars even lower than mine with no issues.
The bonnet is only held on with 4 M6 nuts so I unbolted that for the mapping session. I had already removed the splitter, bumper and grille before loading the car onto the trailer.

Once the fuelling and timing was set we did a power run at actuator pressure of 0.5 Bar. To say I was pleased would be a huge understatement ! 276HP and 222ft lb torque with a very linear delivery. The is the default setting that I use in the wet and most of the time when on circuit. It`s incredibly driveable and once on boost just feels normally aspirated in the way it makes the power.

Next we started lifting the boost until settling on 0.8Bar. Power jumped to 323 HP but the torque started dropping off a little over 6,500rpm. This setting is enabled by means of a steering wheel mounted latching switch, it`s easily pressed by simply rolling my thumb. I tend to run this setting in the dry and in any gear above 3rd. I found last year that the combination of the 17″ wheels and slicks over bumpy parts of a circuit in 3rd gear was too much for the CV joints. It`s much easier to leave it on actuator pressure in 2nd or 3rd and then switch to 0.8Bar for 4th gear and above.

Finally it was time to see what the Turbo would give. We kept increasing the boost until settling on this delivery. It`s not something I would use, the delivery is too sudden. Not only would it put a sudden stress on the drivetrain but it would most likely break traction in anything apart from 5th or 6th gear.
You may notice the boost drops off to 1Bar at 7,400rpm. We tried it at 1.2Bar but it made almost exactly the same power. What it clearly shows is that the turbo has reached it`s limit and no matter how much more boost you try putting through it, you won`t get anymore power.
This setting is once again enabled by a simple click of a button on the steering wheel, the extra boost target maps on the ECU meant switching between all these 3 settings is instantaneous and done without removing my hands from the wheel.
After this run Chris explained he’d never seen a 19T make this much power before, the whole setup was obviously very efficient and testament to my build. I have to admit, I was pretty pleased to hear that ![]()

I drove the car shortly after this mapping session at Silverstone in the wet and the throttle response was the best it`s every been. I can`t really put my finger on why, apart from the time Chris spent tweaking the tip-in throttle response. At the time I thought he was just repeating the same thing but he was fine tuning the fuelling and response to get a really crisp feel when pressing the accelerator.
I put together a short video overlaying each power curve over a power run
The overtake button ? Well suffice to say it brings a big grin to my face whenever I press it. Whilst not quite giving a `Fast and the Furious` nitrous button effect ![]() , it`s still noticeable by every passenger who has been in the car when I activate it. 4th gear full throttle and pressing a button to give another 50HP is certainly something you can feel
, it`s still noticeable by every passenger who has been in the car when I activate it. 4th gear full throttle and pressing a button to give another 50HP is certainly something you can feel ![]()
I`ve been asked why I don`t simply use the DTA boost by gear feature exclusively. I hope if I explain it more detail it will make a bit more sense why I do it this way.
First off, the CV joints are the weakpoint in the system. They are already the VR6 units and I broke 2 at the ring last year exiting the Karussel with too much power on 17″ slicks. There is no easy way I`m aware of where I could beef them up and even if I do, I`ll just move the problem elsewhere. As it is, I carry spares and it`s something I can replace at the circuit.
DTA supports boost by gear, so I can set the level of boost per gear. That would make it a `fit and forget`system but it isn`t what I want to do. I do run boost by gear to limit the delivery in 1st and 2nd and also drop it by 10% in 3rd.
Quite simply, it`s shock loadings through the drivetrain from bumps and loss / regaining of traction that causes the failures. Yeah, I could leave it on low boost and it`d be fine, but that`s not really the point. ![]()
If I`m at Spa on lovely smooth tarmac in 3rd gear going through a corner I`m quite comfortable running 0.8Bar boost and know the CV`s can cope. If I`m at the Ring in a particularly bumpy section I want to run actuator pressure only to protect them.
Heading up Kemmel in 5th, I`m quite happy deploying the full 1.5Bar knowing the tarmac is smooth and the wheels are straight, but pflanzgarten 3 where you get momentary losses of traction over the crests in 5th would probably result in a CV issue at 1.5 Bar.
It`s the driver knowing what is and isn`t safe that`s the reason I don`t want the system to be setup to run fully automatically.
Hopefully that helps explain the reasoning behind the manual buttons to enable the differing boost levels in the same gear depending on conditions.
It`s taken me longer than planned to write this post, I hoped to include more datalogs showing the various traces from the extra sensors. A few issues on the Nurburgring trackday meant I wasn`t able to do the back-to-back testing I planned.
I do have this lap from the trackday where I’ve added various temperature readings to the overlay.
The brake indicator is line pressure, with 100% being the hardest I can press the pedal. What the data is showing me is that I don’t use all the available braking performance anywhere. Something Matt has been saying for year and an area I definitely aim to focus on.
I have had no issues with the ECU whatsoever since fitted and all I did with the tune was tweak the boost delivery in the rain to reduce the midrange a little and improve traction. Alex at DTA has answered any question I had very quickly and his help and guidance when choosing the ECU made the process as painless as it could possibly be.
The traction control works and it works so well and unintrusively I don’t always realise it’s enabled. My next trackday should be an ideal opportunity to do laps with it off and then with it on to get some good side-by-side data showing what it’s doing. I don’t drive relying on it, but in the past when exiting certain 3rd gear corners I’d momentarily spin up the inside wheel. If I lifted it lost boost for a moment but with the TC enabled, it stops the wheelspin whilst maintaining the boost. Very impressive indeed ![]()
Since getting this setup on the dyno, I’ve hit the limiter in 3rd, 4th and 5th more than I ever used to. It pulls so cleanly at the top end I often forget just how high the revs are ![]()
I was absolutely delighted with the time and effort Chris put into mapping the car. So much so that I’m back again on the 3rd of June for him to adjust the tune to take advantage of the new turbo I`ve just fitted..