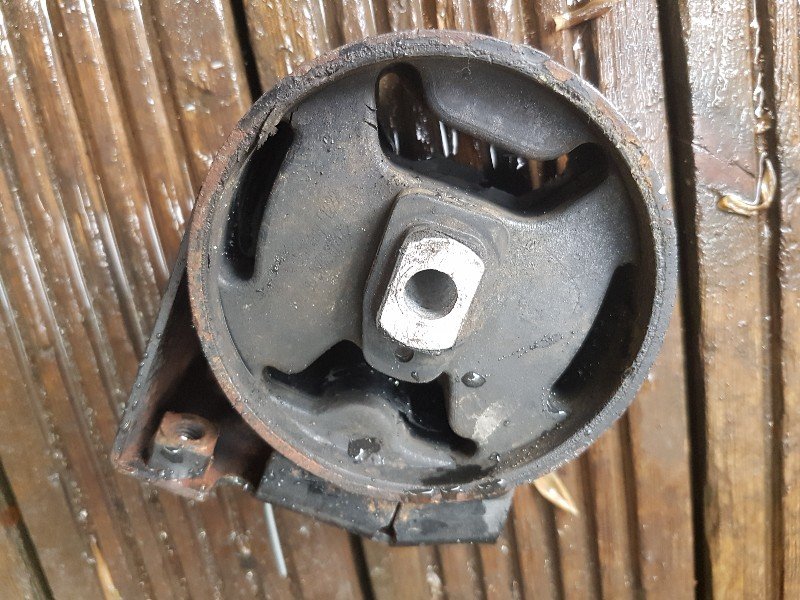
I noticed when the car was on the Dyno earlier this year there was more engine movement than expected. Looking closely and it was obvious the rear engine mount was the issue. This did have a polyeurethane insert but over time it had worn and the rubber was worn allowing too much play.
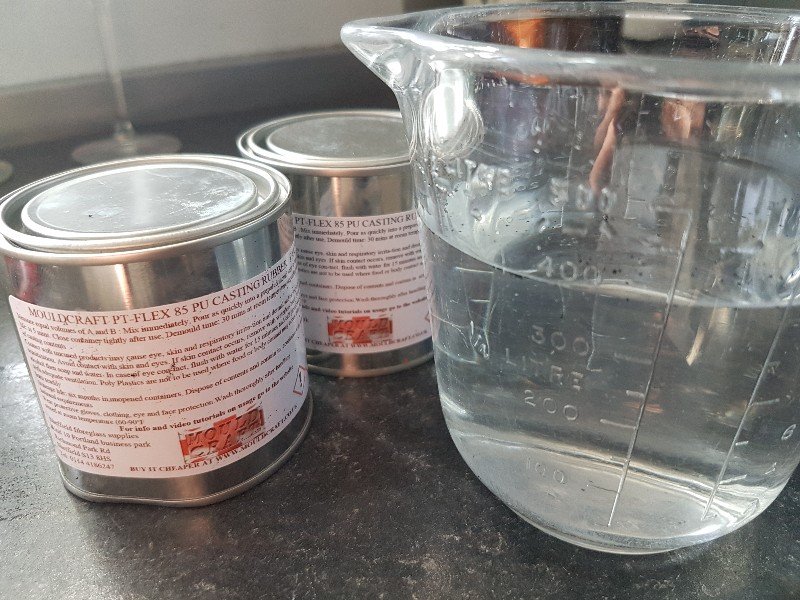
I settled on some PTFlex 85 Casting Polyeurethane. I bought it from Ebay, but it’s available from other online sellers. Just search for “PT Flex 85” or “Casting polyeurethane“
I could go out and buy a Vibratech mount or similar but thought I’d have a go at converting a stock mount to a Polyeurethane filled one. If it didn’t work I hadn’t lost much apart from a bit of time.

The mount had been on the car several years and you can see where the rubber was starting to perish. I’ve seen many people simply fill the voids with polyeurethane but as the rubber was perishing I didn’t feel that was the best solution.
I had an old bit for the die grinder which is used for aluminium. It’s much coarser than the usual metal ones and when on a medium speed it was ideam for removing the rubber. Too fast and it started to melt and stick to the bit, but slowing it down and taking my time was the best way to remove it.
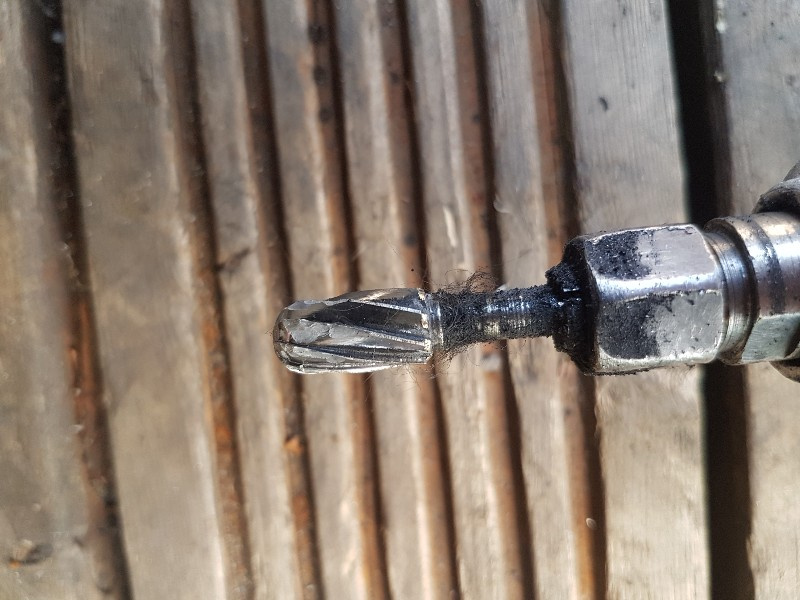
After only a few minutes a large amount of rubber was removed. I’m sure you could do this with a drill bit but it would take far longer.
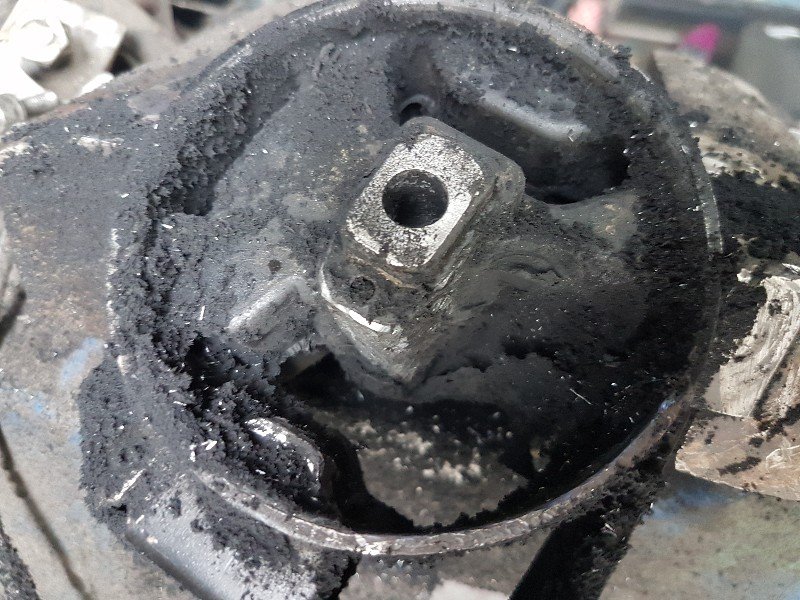
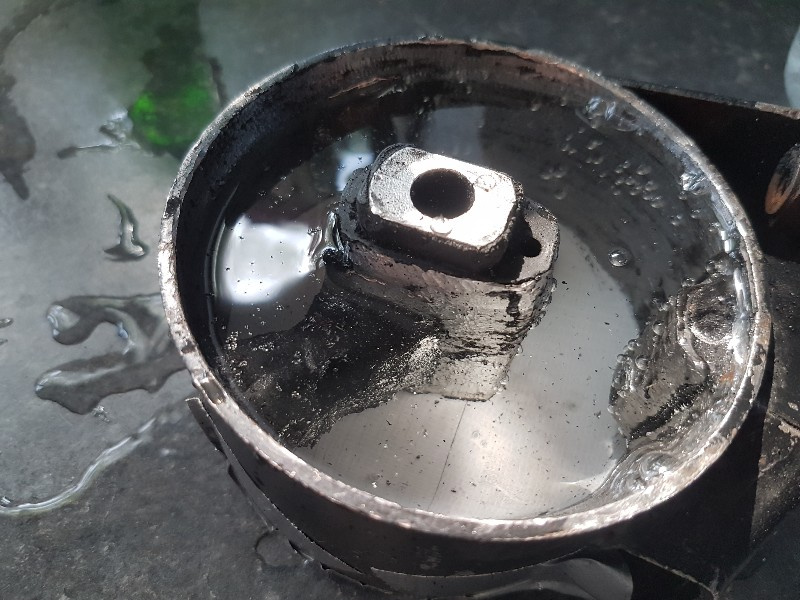
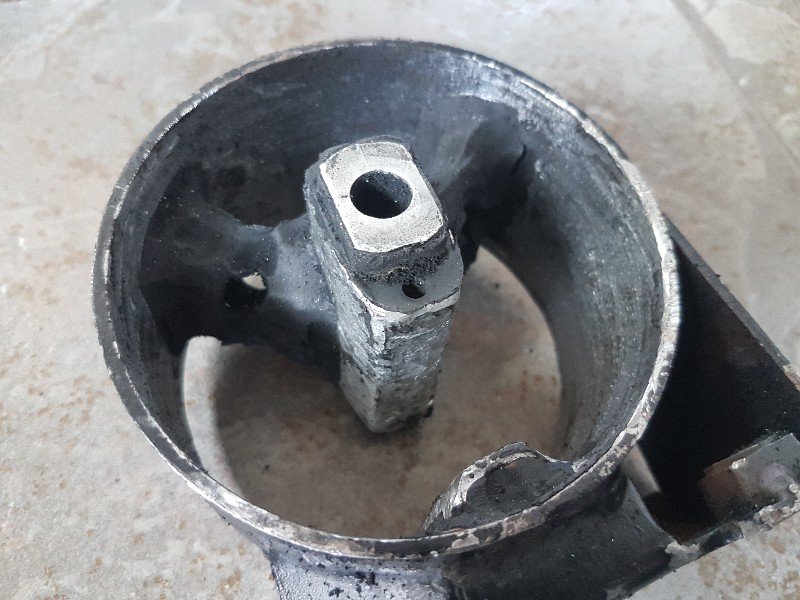
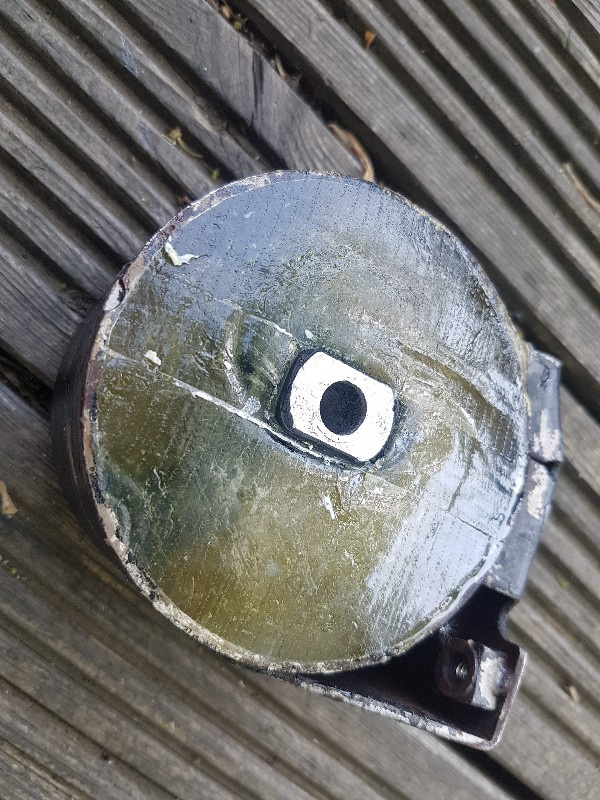
I removed almost all the old rubber, just leaving a small amount holding the centre in place. I could have removed it all and made a jig to hold it in position, but to be quite honest it doesn’t need all the rubber removing. I drilled holes in what was left to ensure the liquid would be able to totally encase the central part.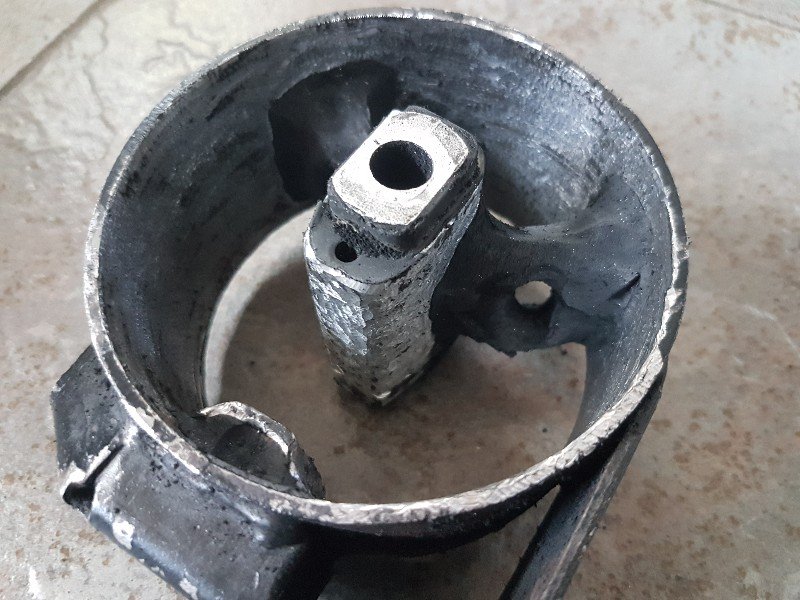

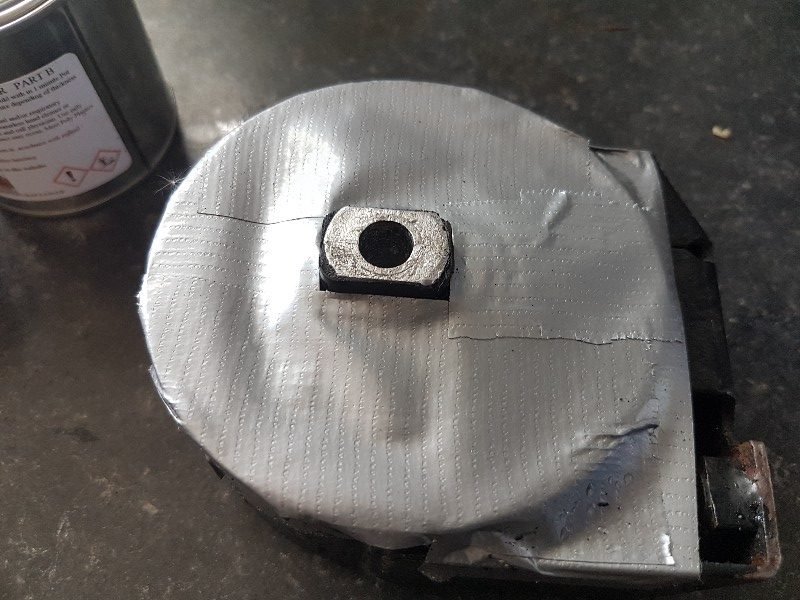
Once the rubber was removed I sealed one side with some gaffer tape.
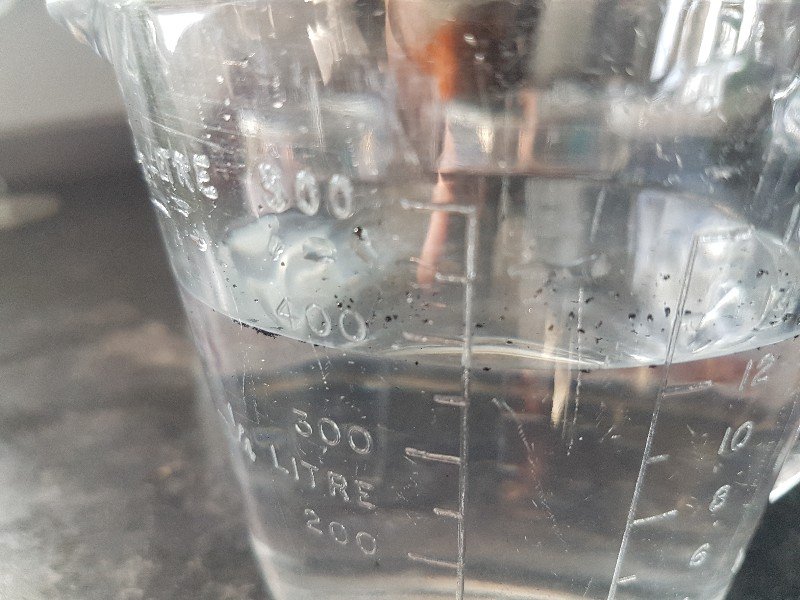
You don’t need to do this next bit, but I wanted to check the volume of resin required to fill the void I’d made. I filled it with water and then quickly poured the water into a measuring jug. It was full to the brim but by the time I’d grabbed the camera it had started leaking out of the bottom.
400ml, which allowing for the leakage suggested I’d need the full 0.5kg. You can’t add resin later so it’s much safer to mix more than you need and have some left over rather than not enough.
An old plastic bottle was used as a container, the top cut off with scissors, the inside dried out and then both part A and B were poured into the tub.
You need to work quickly, it starts setting in a few minutes so ensure everything is in position to pour straight into the mount.
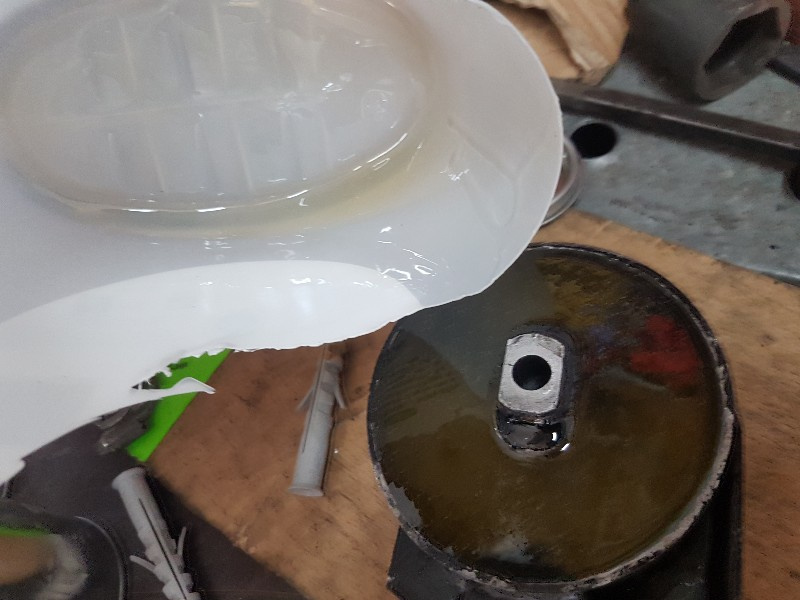
The quantity was just about perfect and it filled the mount to the brim.
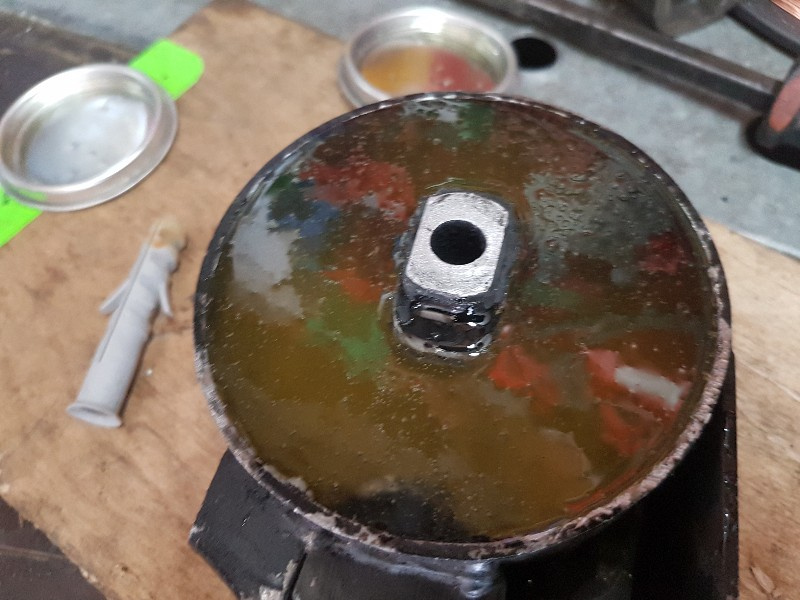
leave it for 24 hours and then the polyeurethane can fully harden. I’ve read some people put it in a low oven to fully cure it but this particular one doesn’t need it.
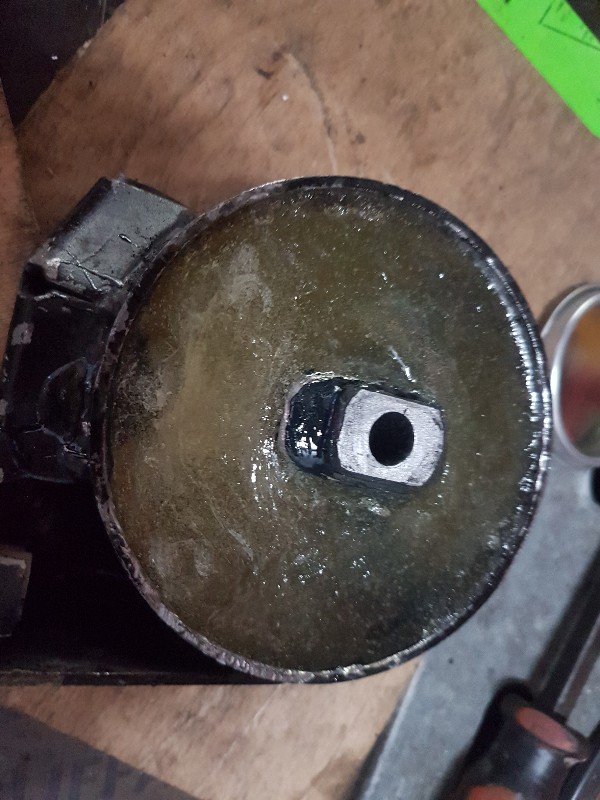
Turning it over and removing the gaffer tape shows the imprint left in the final product. Nobody will ever see it once it’s on the car so I’m really not worried.
The mount was refitted and when next on the dyno the engine movement was significantly reduced. Cabin vibrations will probably increase slightly but this is a track car not a road/track car so it doesn’t bother me.
If this was being driven on the road I’d have considered using 60Shore instead of the 85 I used here.
Total cost was £17 plus an hour of my time.