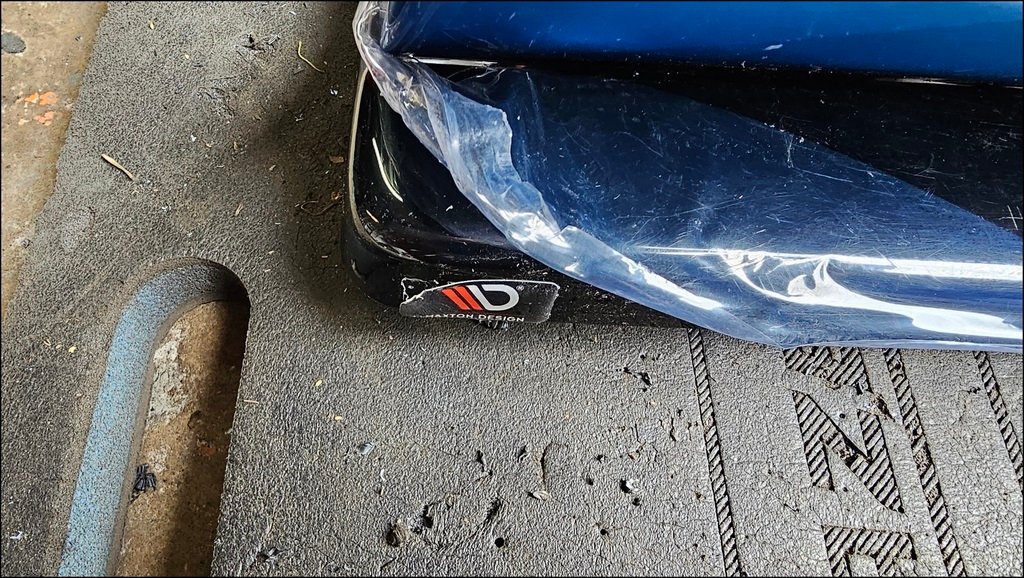
I picked up a set of Maxton Design side skirts and front splitter. Offered up the side skirt and held it in place with a few bits of wood.
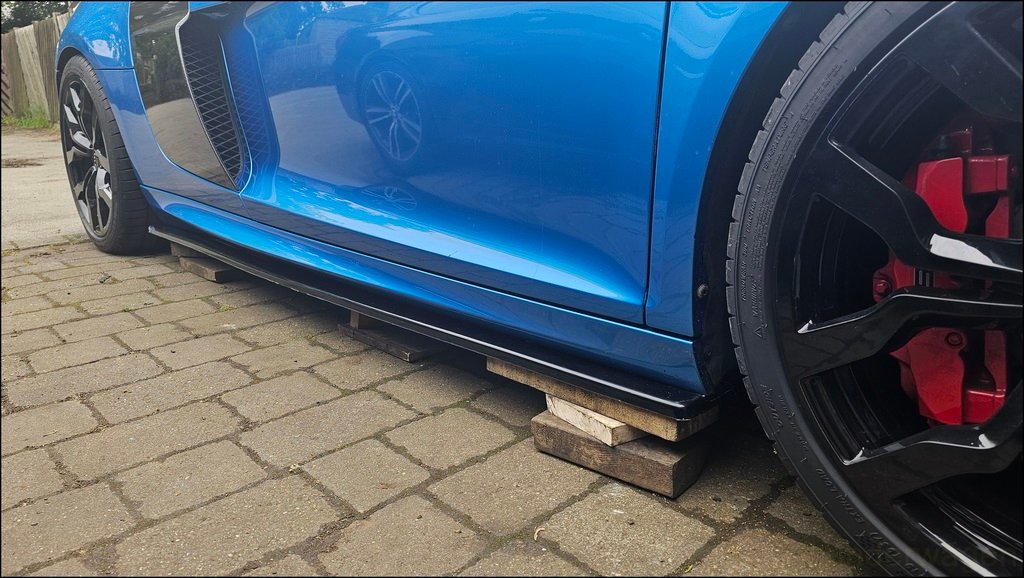
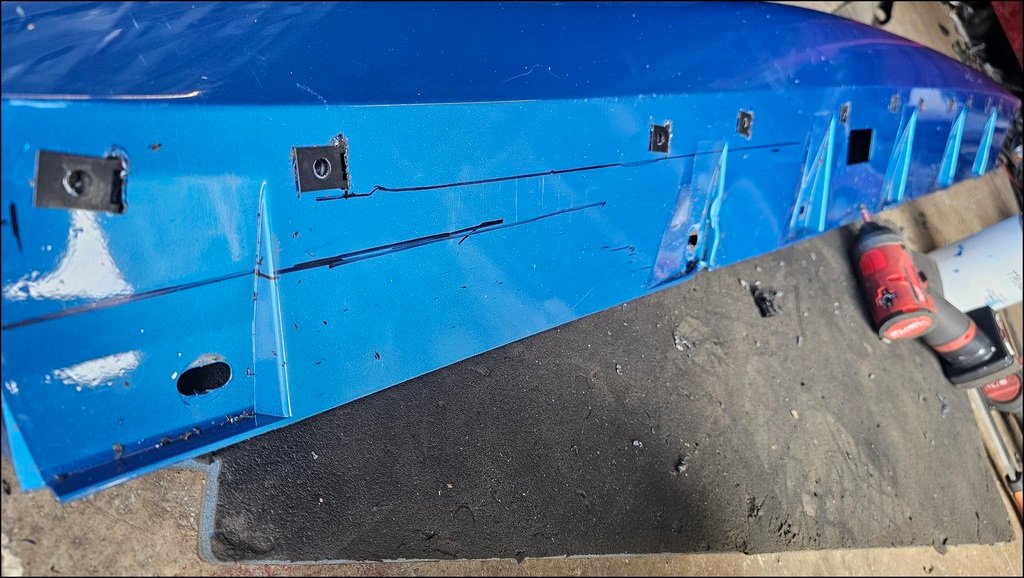
Immediately spotted a problem, The skirt blocks the jacking point in the centre of the sill.
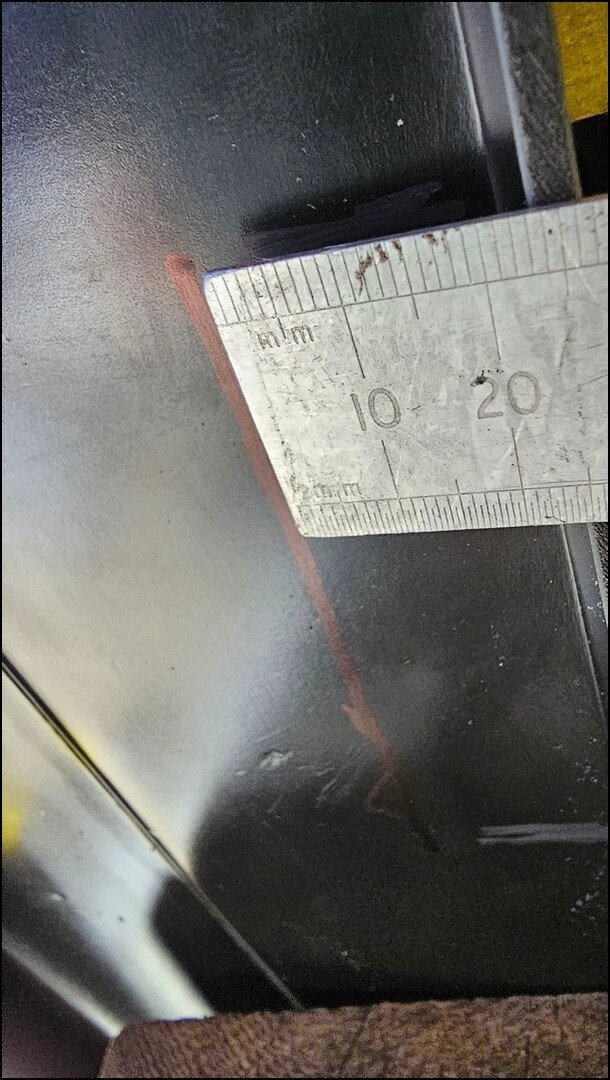
Measured in from the edge of the skirt
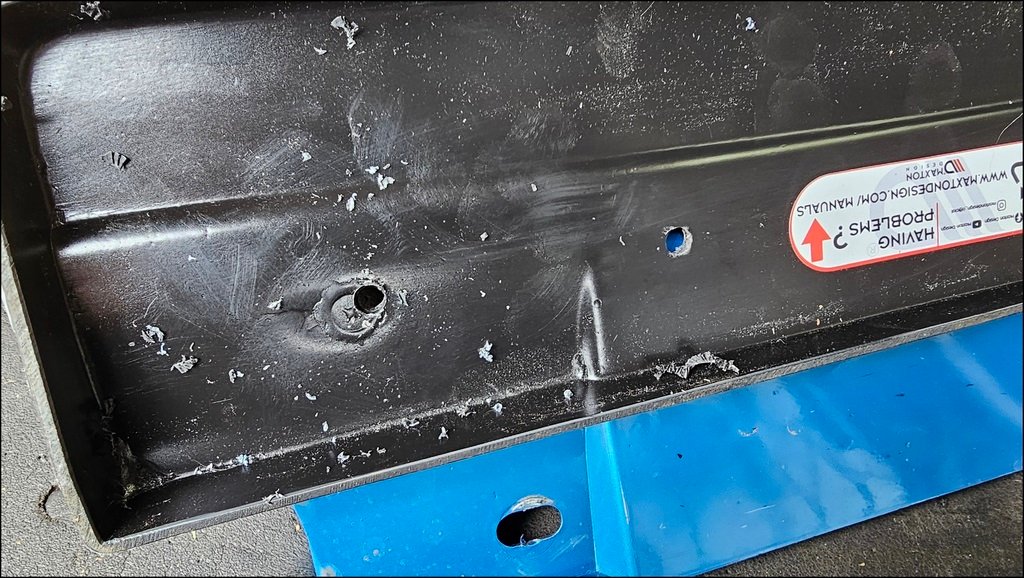
Drew a rectangle on the underside and drilled out the corners.
A few seconds later an angle grinder and hacksaw cut out part of the skirt.

Tidied it up with a file. It’s under the car and will never be seen, but I`d rather everything be neat and tiy because even if nobody else sees it, I’ll always know if it’s cut badly.
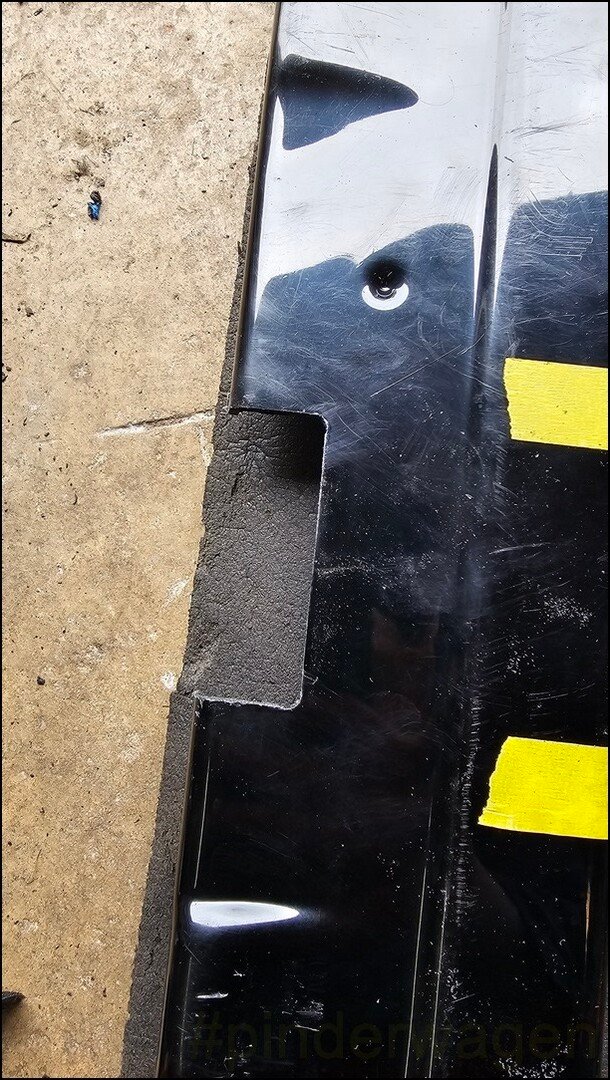
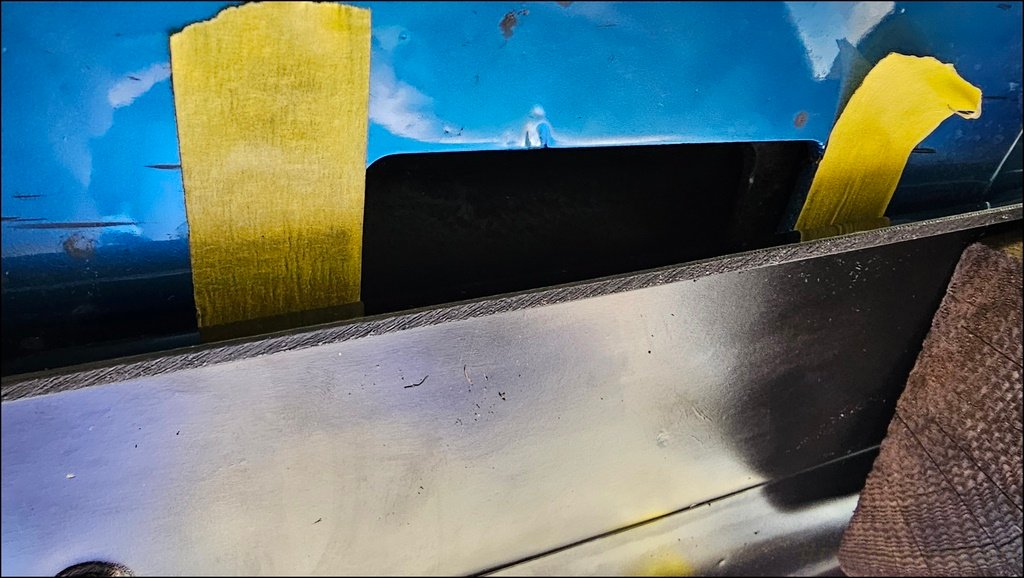
Offered it back up to the car and it now clears the jacking rectangle.
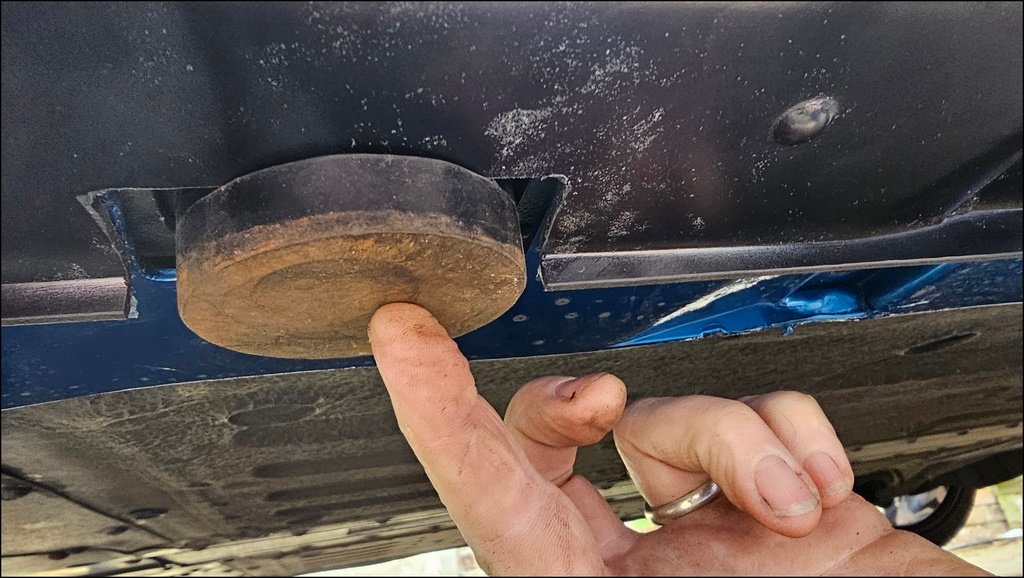
Tested with a lifting puck
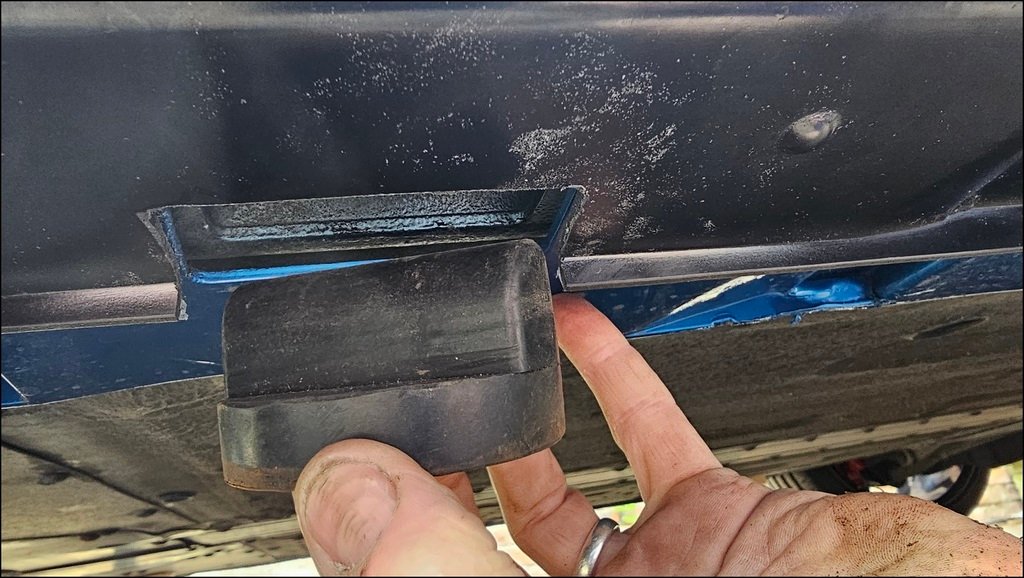
Fits with light pressure on the skirt, but not enough to cause a problem.
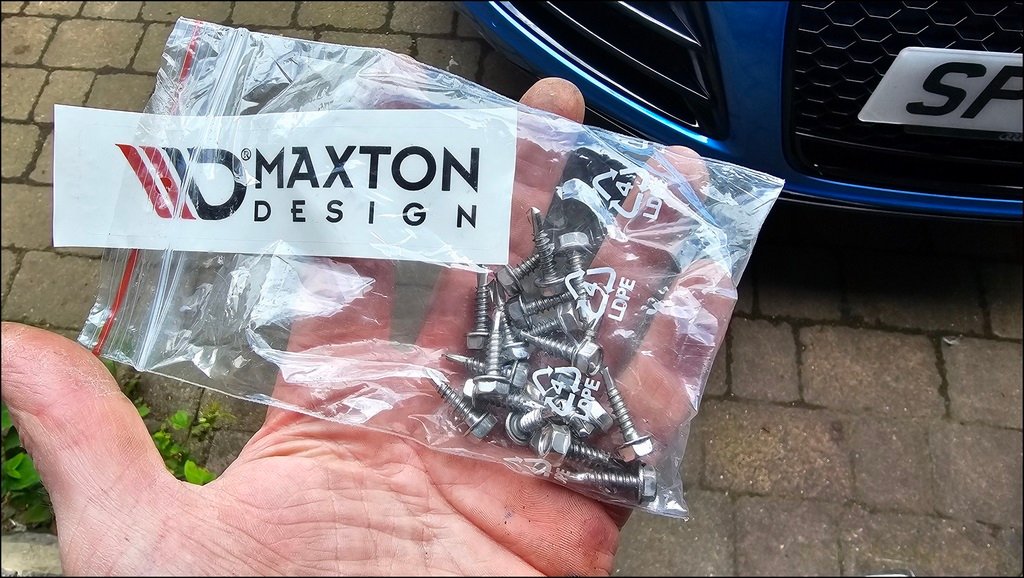
Maxton supply self tapping screws to screw the skirt to the original panel. If they think I’m doing a bodge job with self tappers, they can think again.!
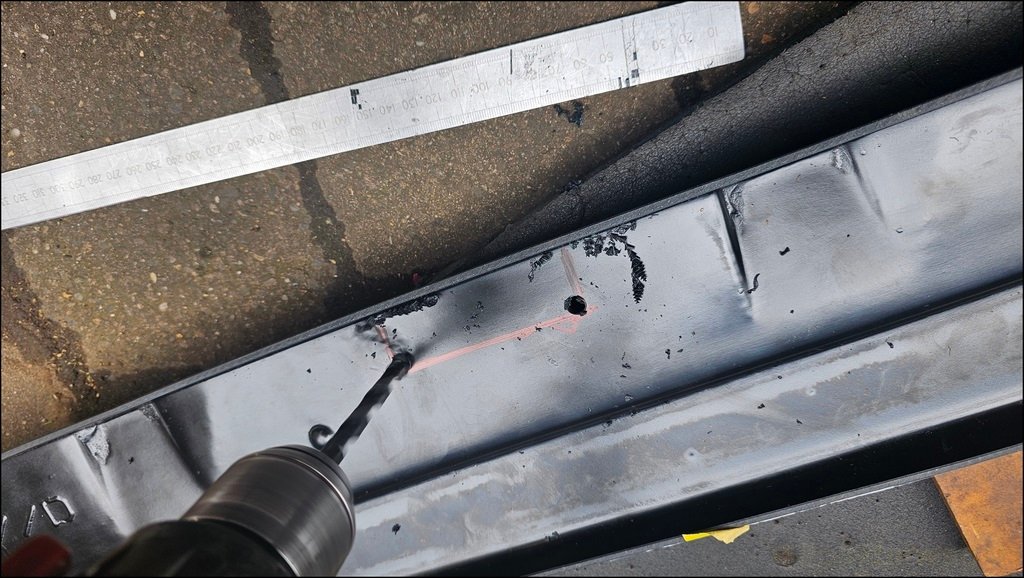
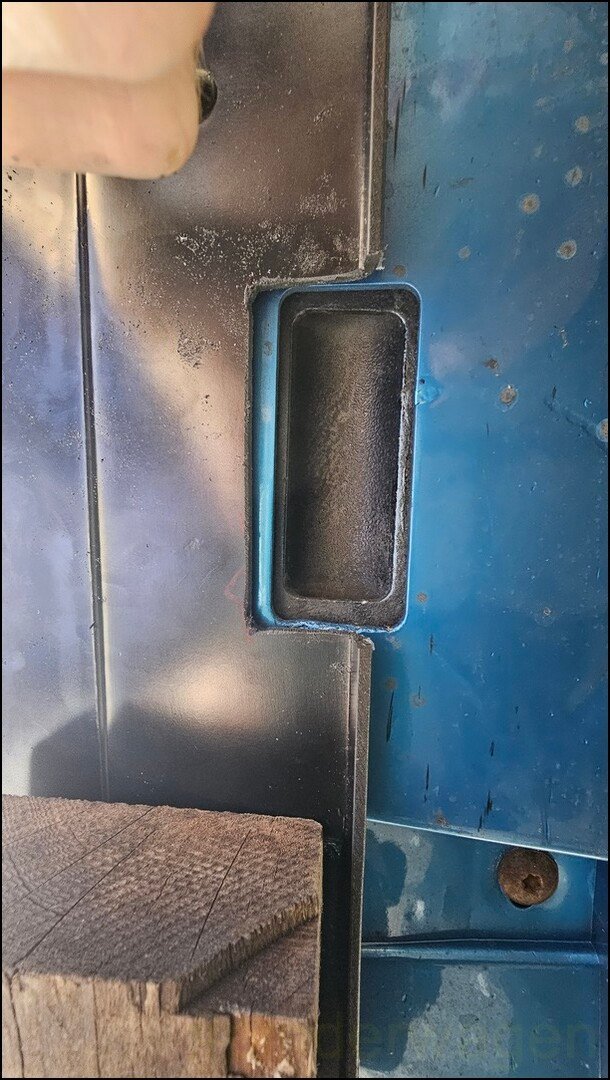
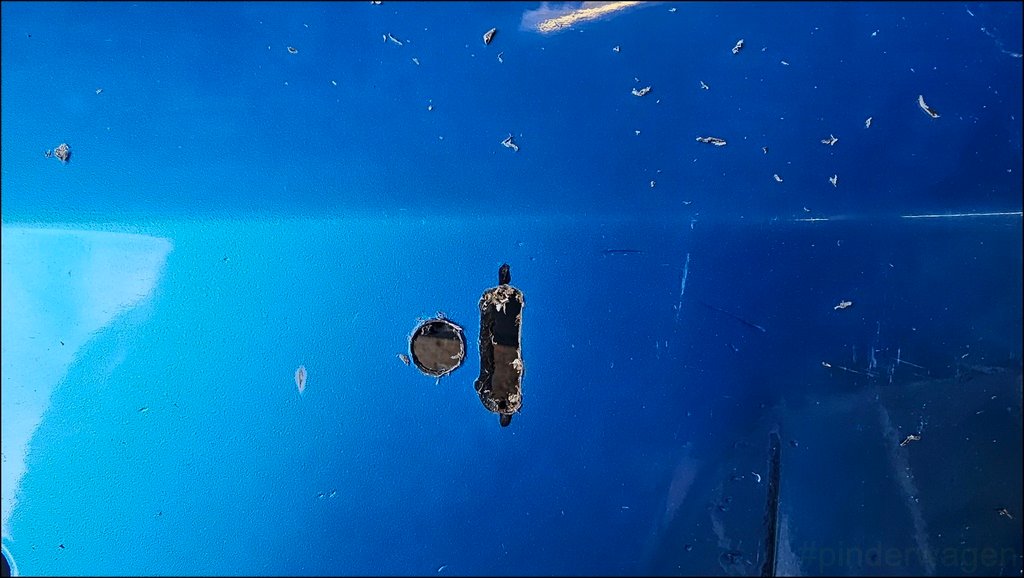
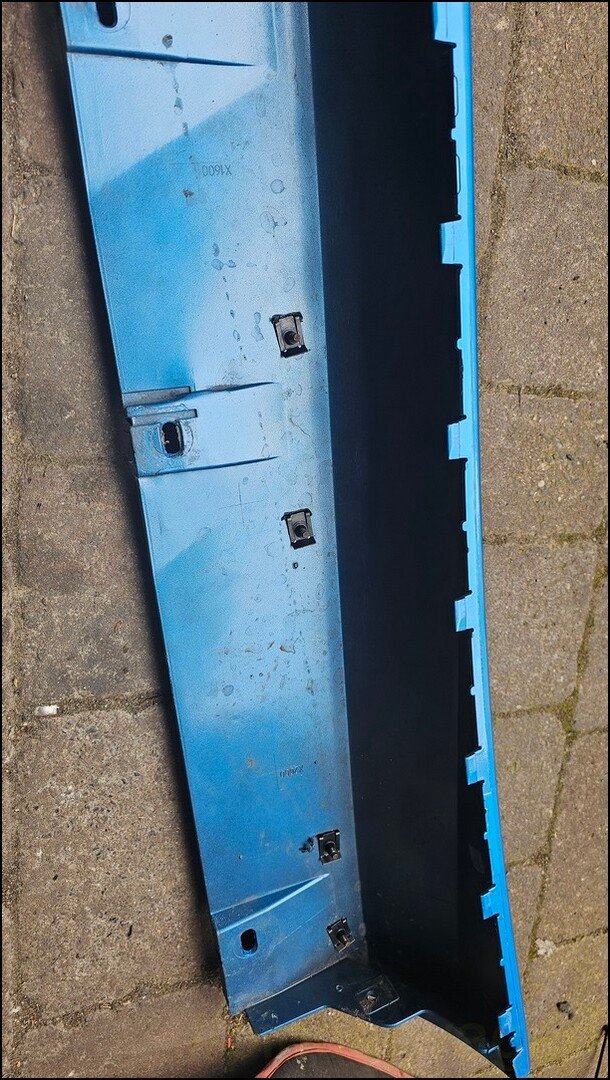
Marked a point on the sill that has a void along the length of the car above it. Drilled through with a pilot drill then a 6.5mm one.
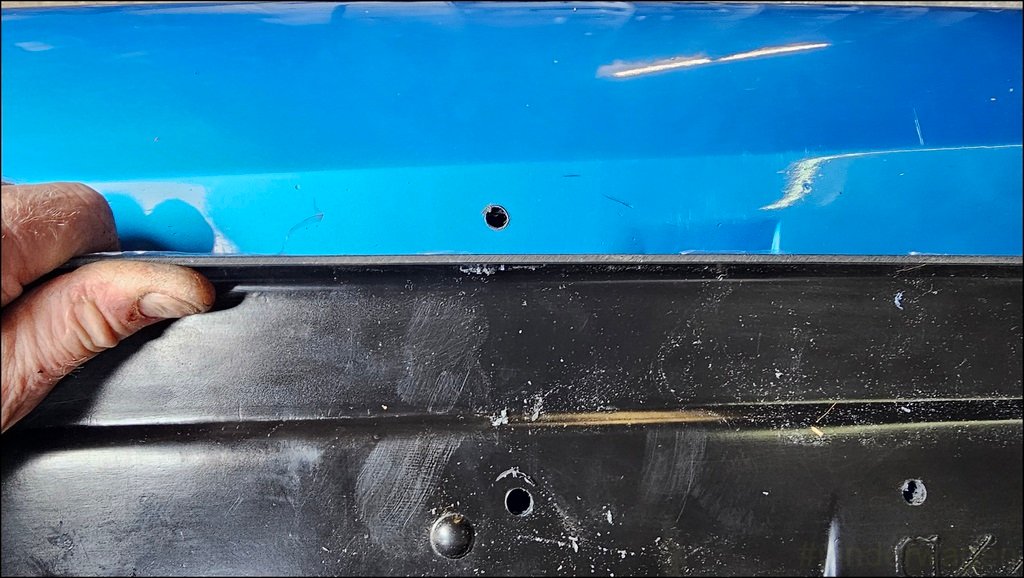
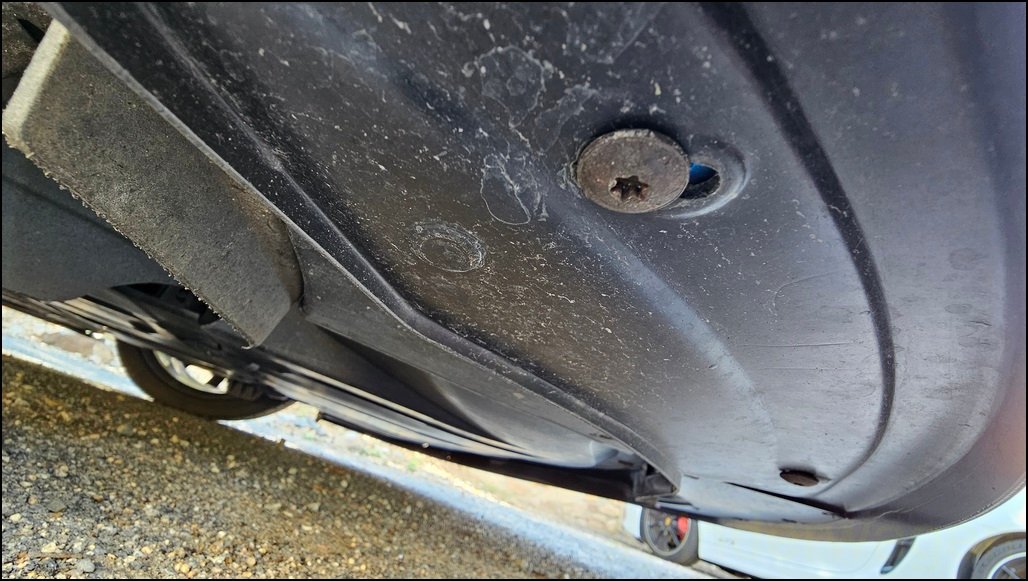
Pretty much every underbody panel is secured with large head T30 screws into these threaded slips.
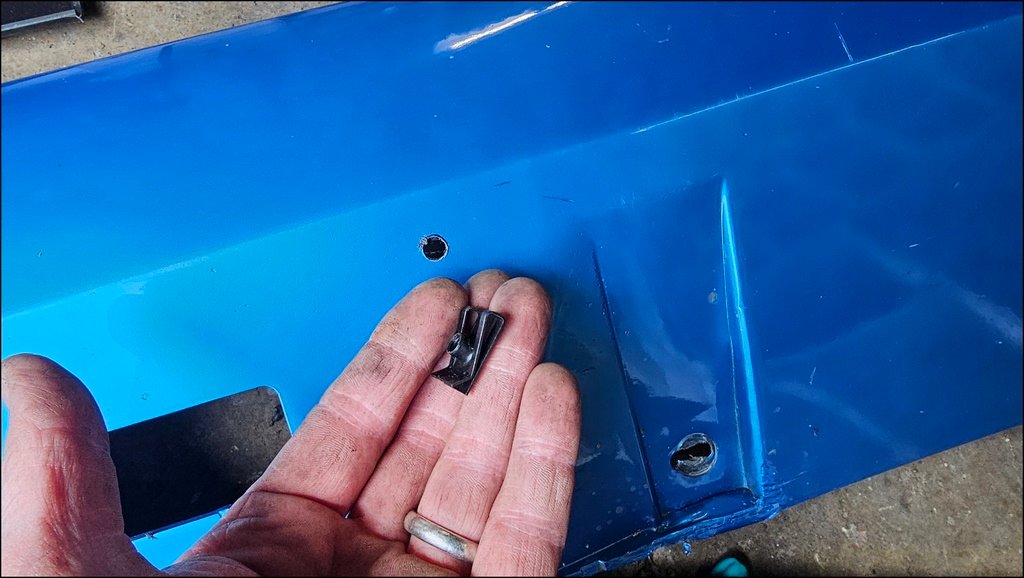
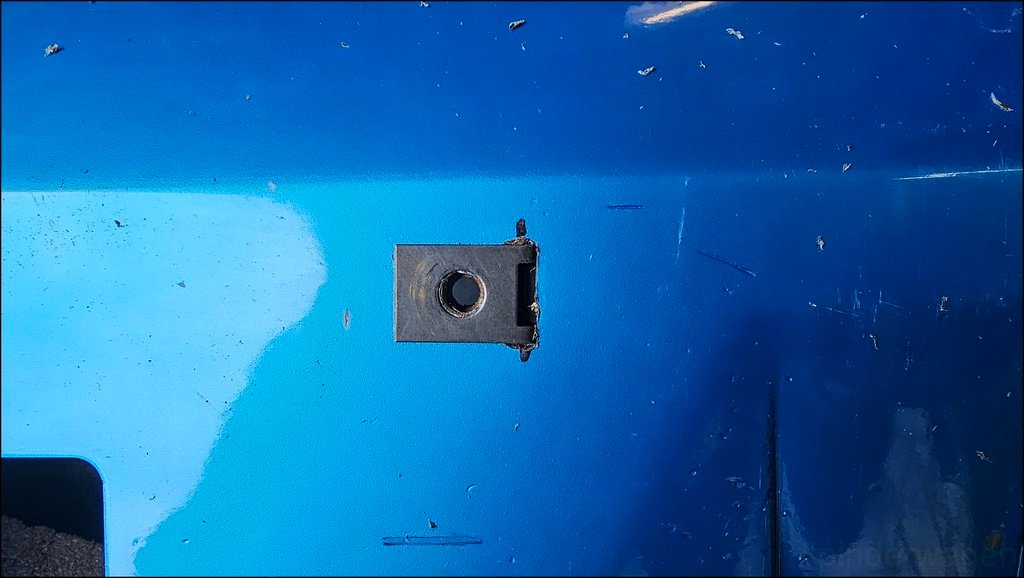
Offered the clip up to the sill, then marked the edge

Chain drilled a slot and then used the drill to clean out the bits in between by moving the drill up and down to end up with a slot.
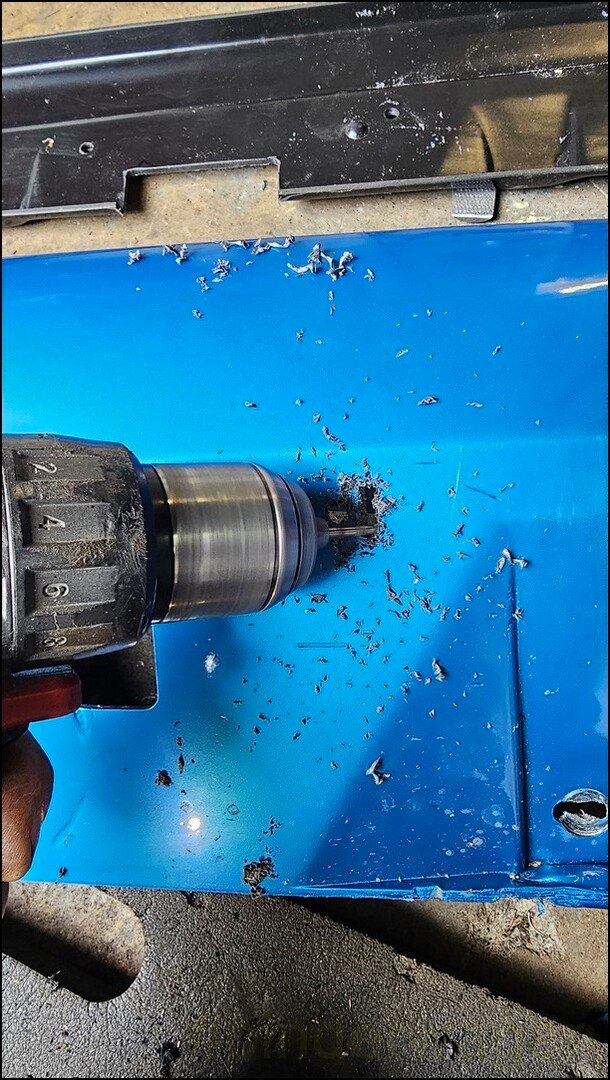
I know it’s a little bit untidy, but there is a point where even I have to say it’s good enough.
The clip slides in from the underside, through the slot and is then pushed across to clip it into place.
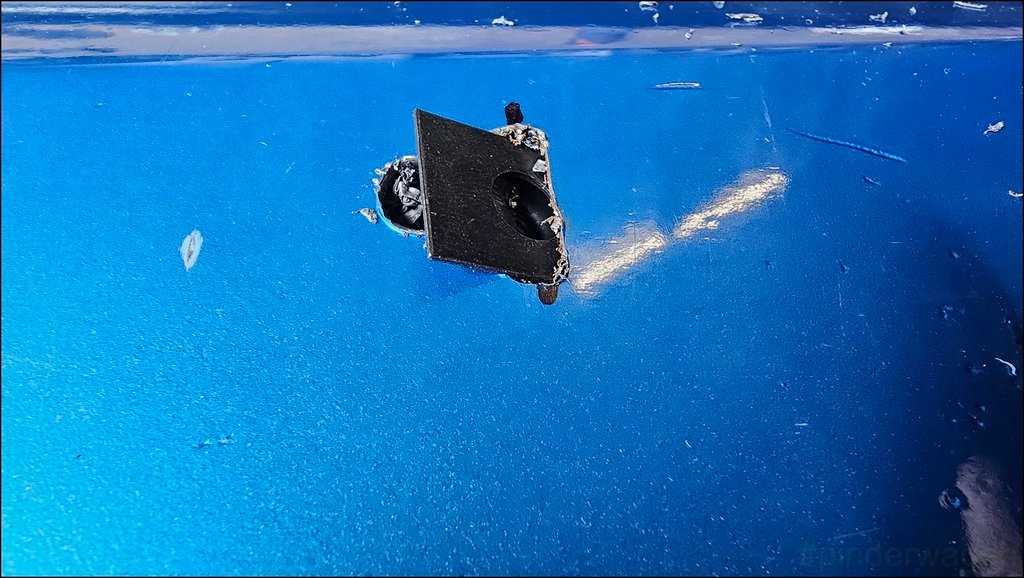
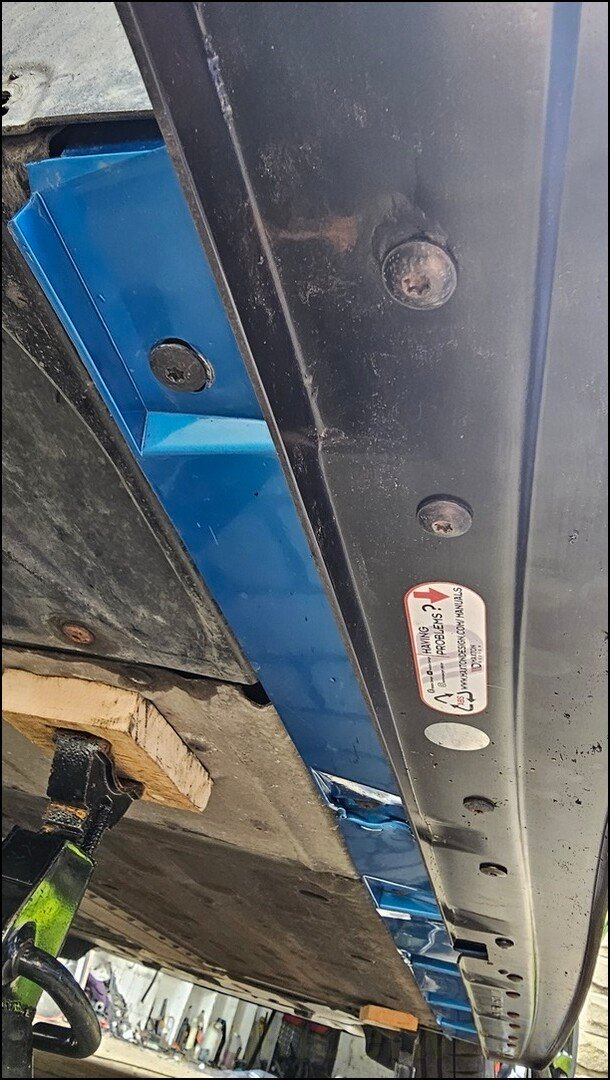
The hole I drilled in the sill lines up with the thread in the clip.
Before drilling, I ensured the position of the skirt is exactly in line with the edge of the skirt, still giving access to the original fixing holes.
Repeat every 180 – 200mm by adding extra clips.
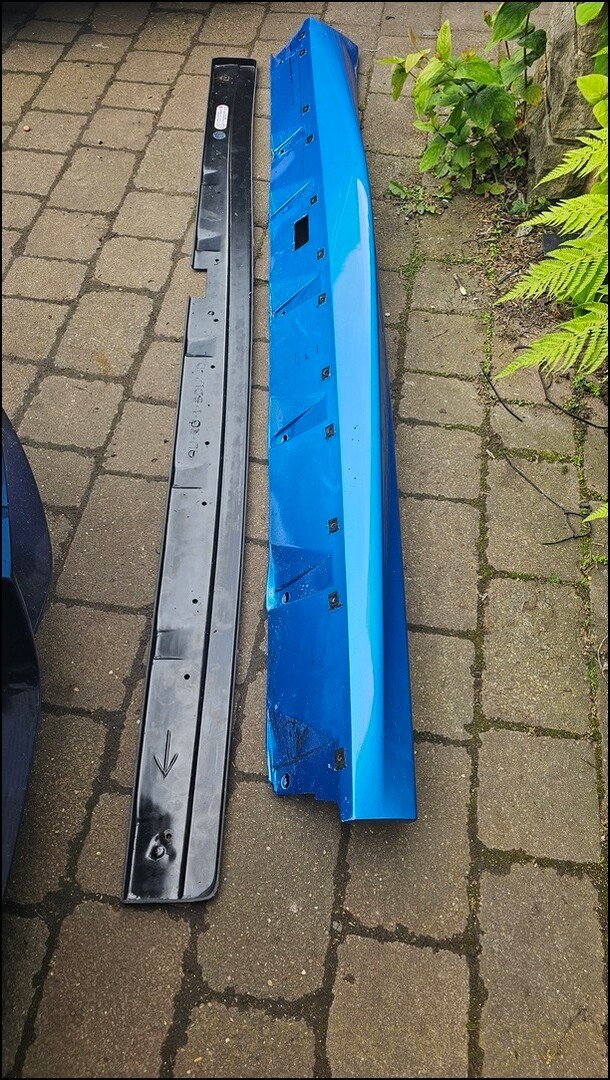
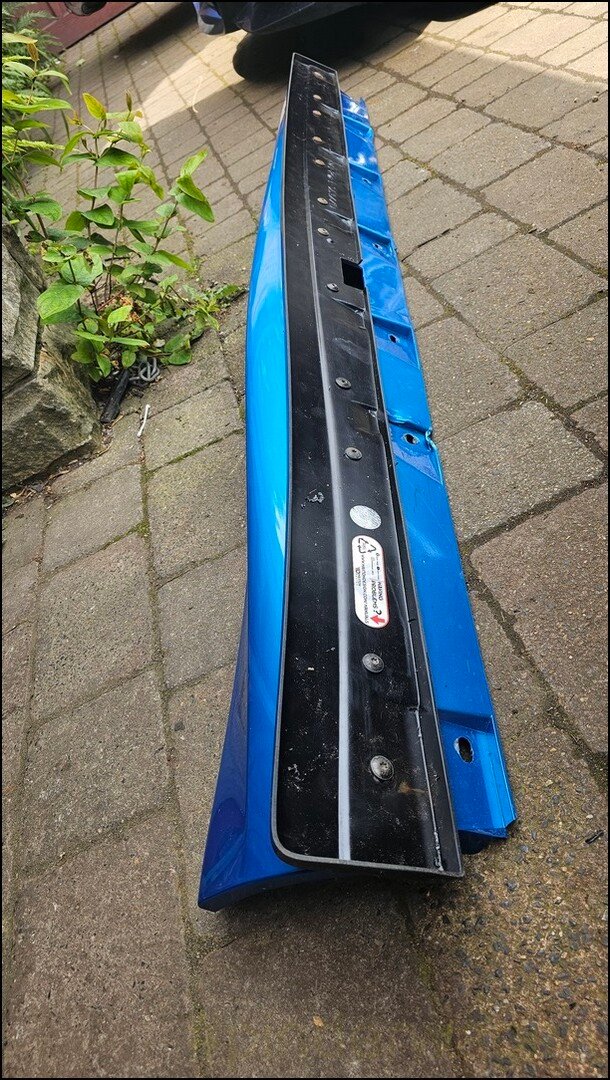
Finished original skirt with the Maxton next to it.
From above, this is what the clips look like.
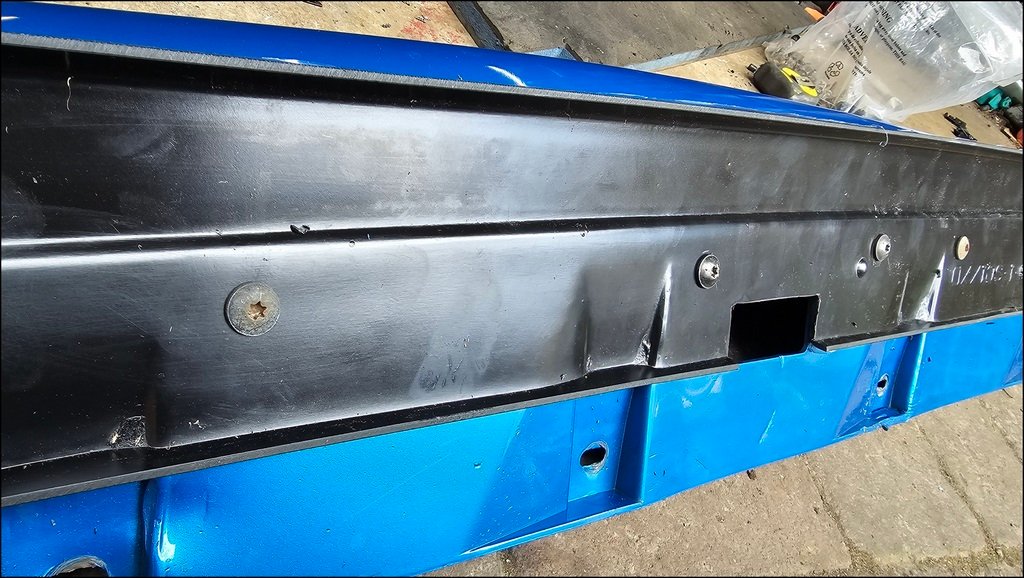
Screw the Maxton sill to the original one using T30 Torx head screws
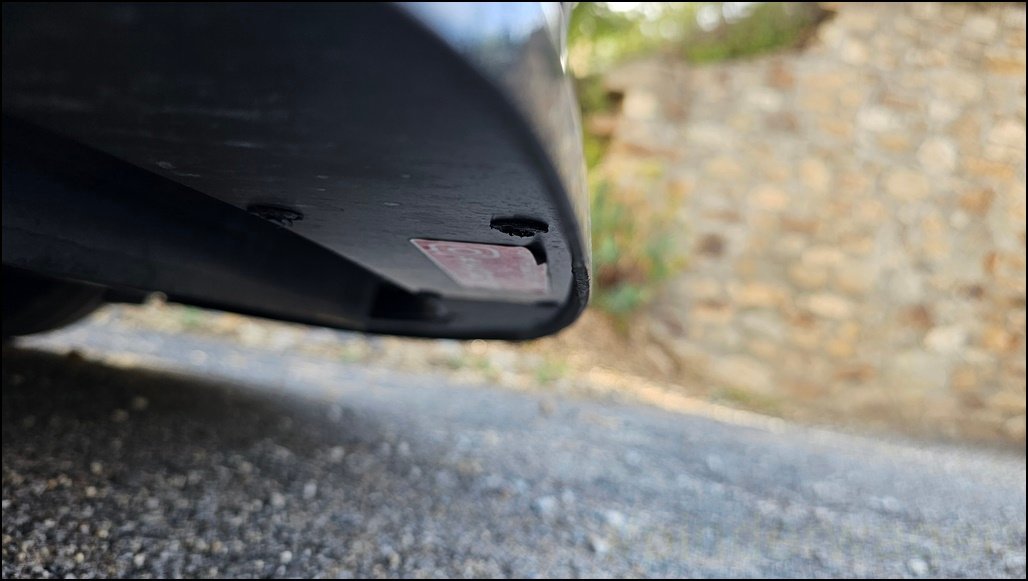
The Maxton sticker peels off easily.
Fully secured to the original sill.
It’s very securely fastened, definitely won’t be tearing off at high speed.
Clip the sill back into place then secure the underside to the chassis with the OEM T30’s
That’s the skirt secured, time to repeat with the splitter. There are many reports of these tearing off at high speed, so the T30 method wouldn’t work. Access is trickier too.

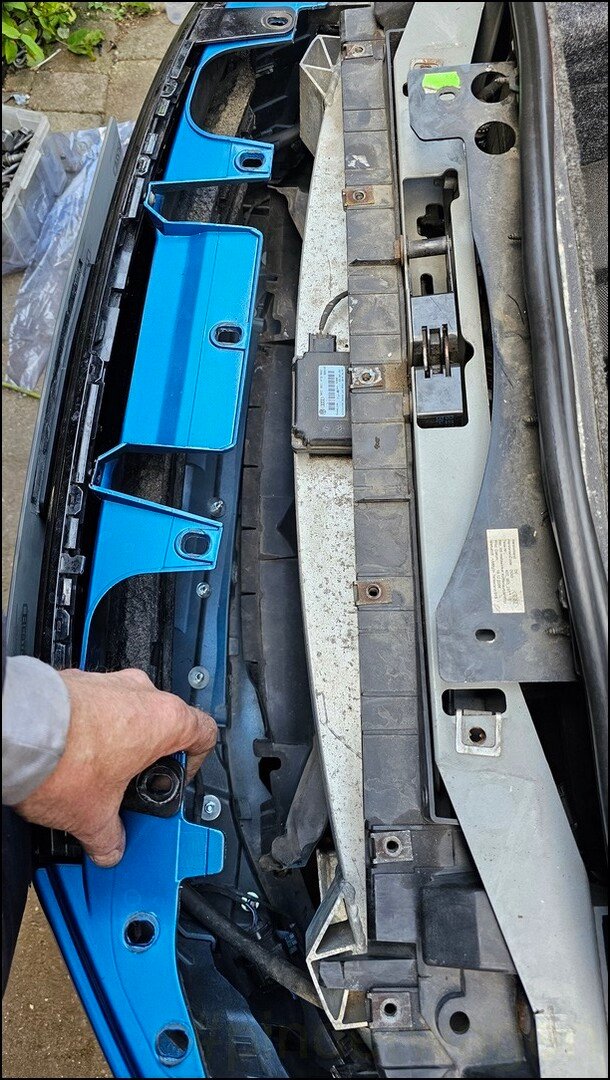
It isn’t a big job to remove the bumper, but it makes access much easier and as before, there is no way on Earth I’m using the self tappers. I still can’t believe they even offer that as a securing method or that people think it’s acceptable.
Drilled along the recess on the underside of the splitter, using M6 bolts with large head washers. I forgot to take a photo with it off the car.
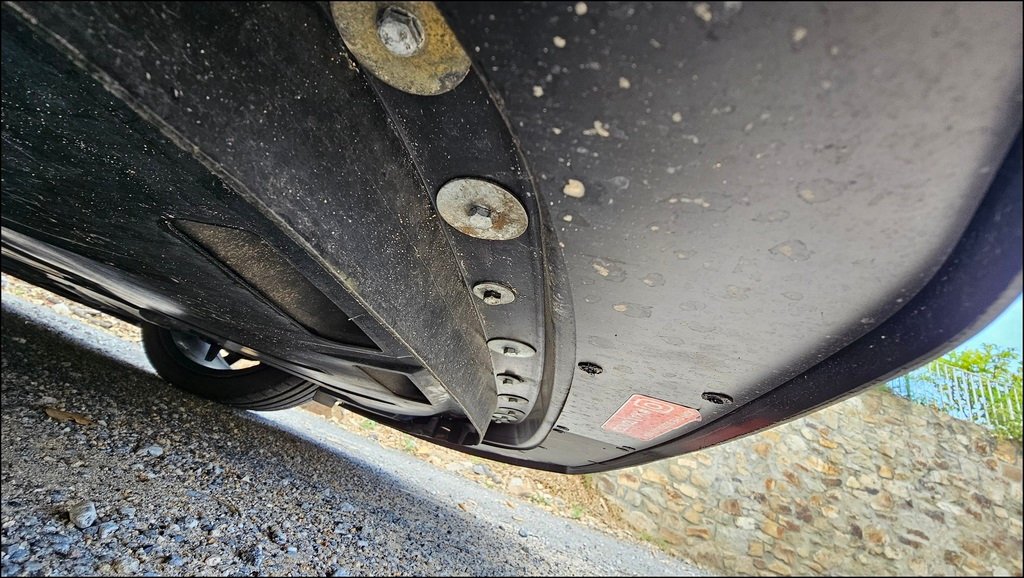
Then fit penny washers to the topside of the bumper with a nyloc nut to ensure it doesn’t vibrate loose.
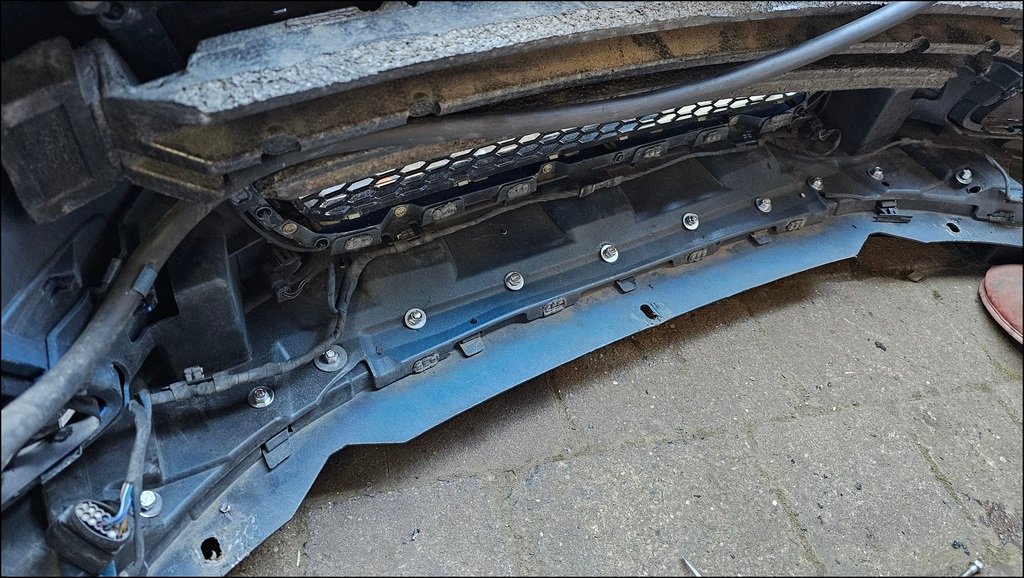
Then it’s a case of refitting the bumper, the outer edges in this area use the same holes that the front underbody panels use.
Lining the bumper up to the holes and then the holes on the splitter to those was a bit of a pain, but once aligned they seemed to bolt up OK.
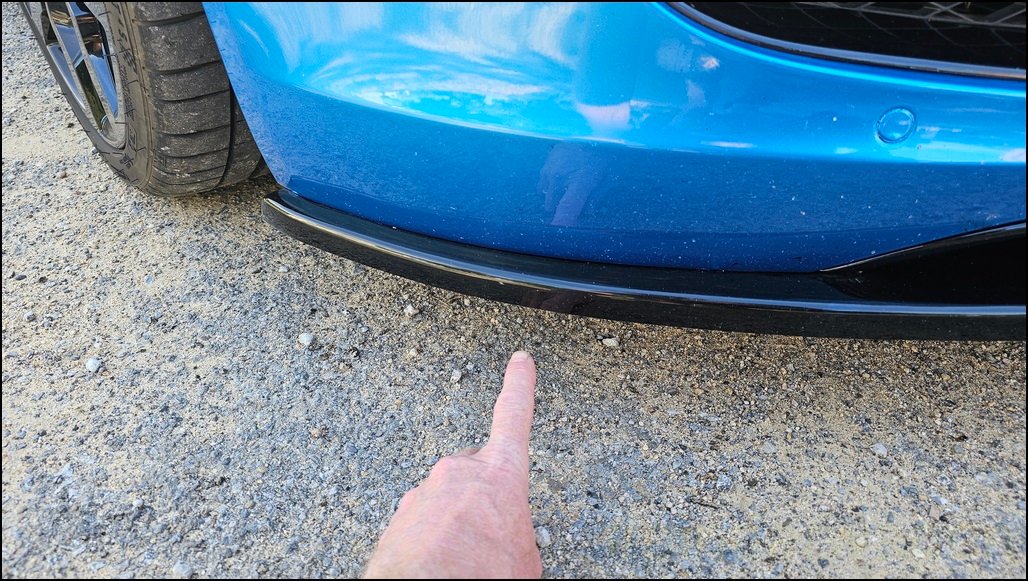
The vertical lip on the leading edge of the splitter gives the appearance its this thick, but actually it isn`t.

It’s a ctually a few mm thick vertical piece which is better, it means that if you touch a speed bump, it doesn’t break anything, it just bends.

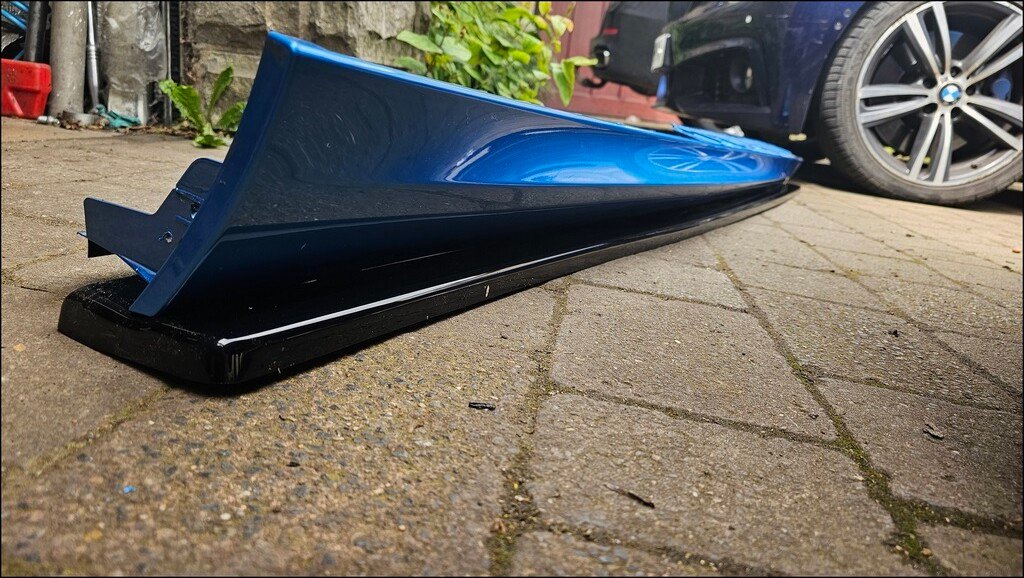
I really like the look of the car with the skirt and splitter fitted. They are fairly unobtrusive but I think work well with the black wheels and the black in the bumpers.
Later this year I’ll be adding a sliding underside to the splitter, like the E36 M3 EVO that can be slid out when on circuit to extend the active area of the splitter as quite honestly, this is really a cosmetic item, but then back under the car when on the road. It’ll make sense when I post photos.