The screen has had a stone chip caused crack for a while and it`s getting bigger, so I used the opportunity to remove the screen, sort the A pillar gussets and I`ll fit a new screen.
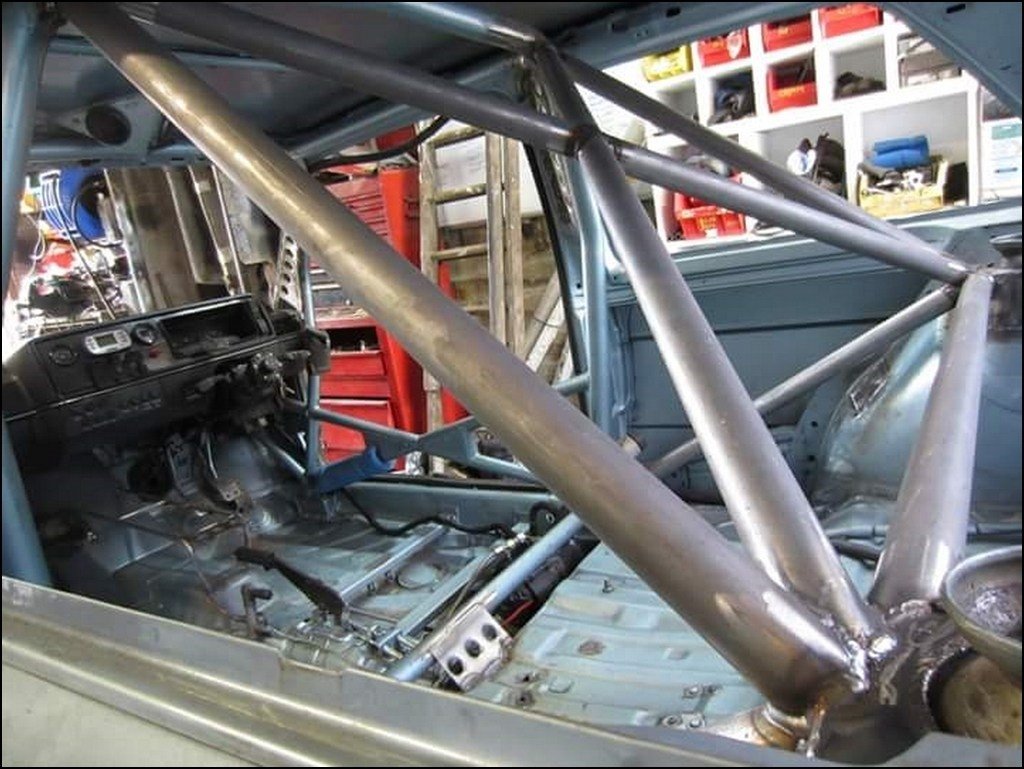
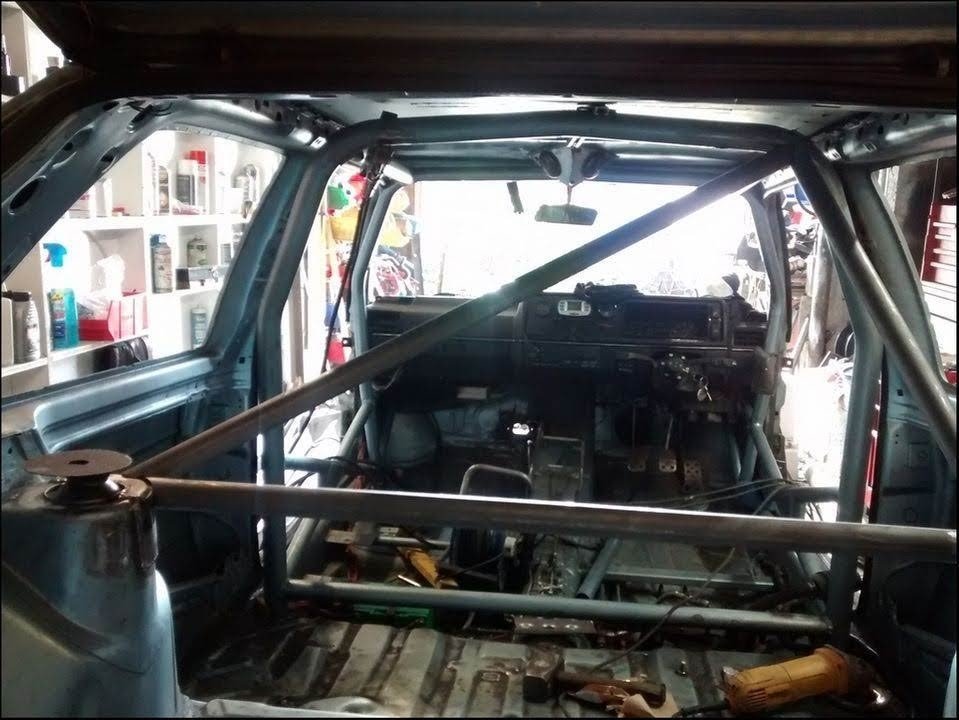
I`m working from the original cage which was an OMP 6-point Bolt-in. Obviously a fully welded Custom Cage which runs close to the A & B pillars would be preferable, but I`m not changing the entire cage for the negligible difference it would make. This is the easiest way I can improve the existing A & B hoops.
The `gussets` as they were. Just some plate welded between the A pillar and cage.


Ground them off and back to bare metal

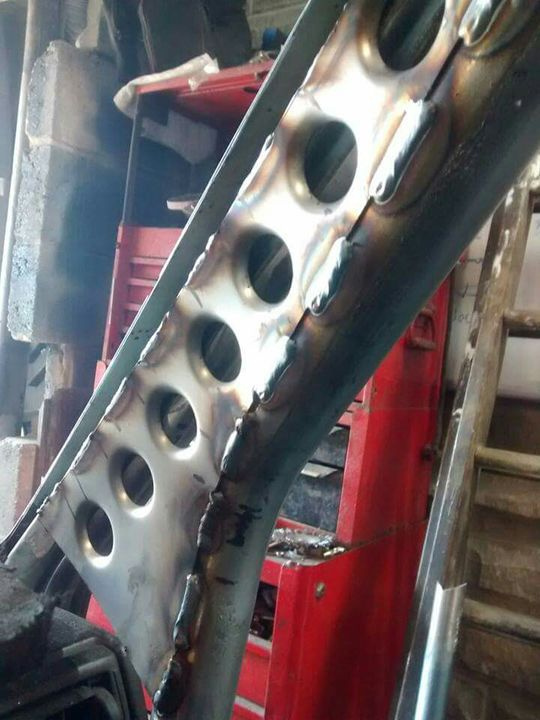
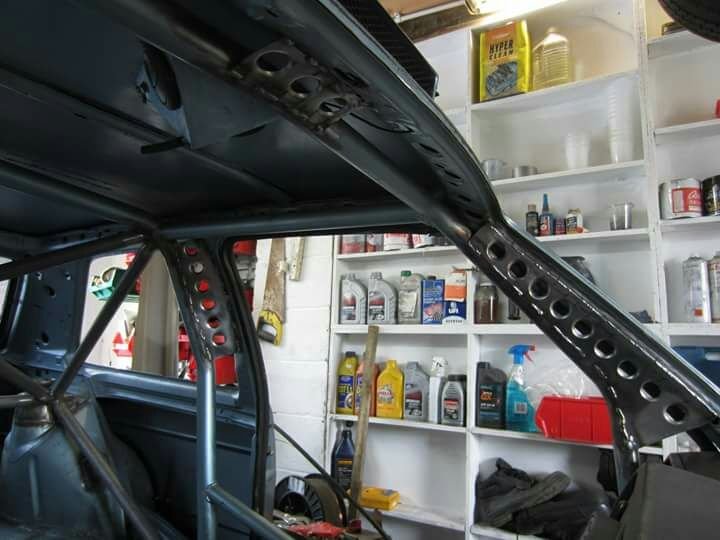
Bought some proper punched plate and carefully cut it to shape. As the front hoop goes into front of the dash, the gap opens up the lower it gets. So I needed to be accurate

Tacked into place

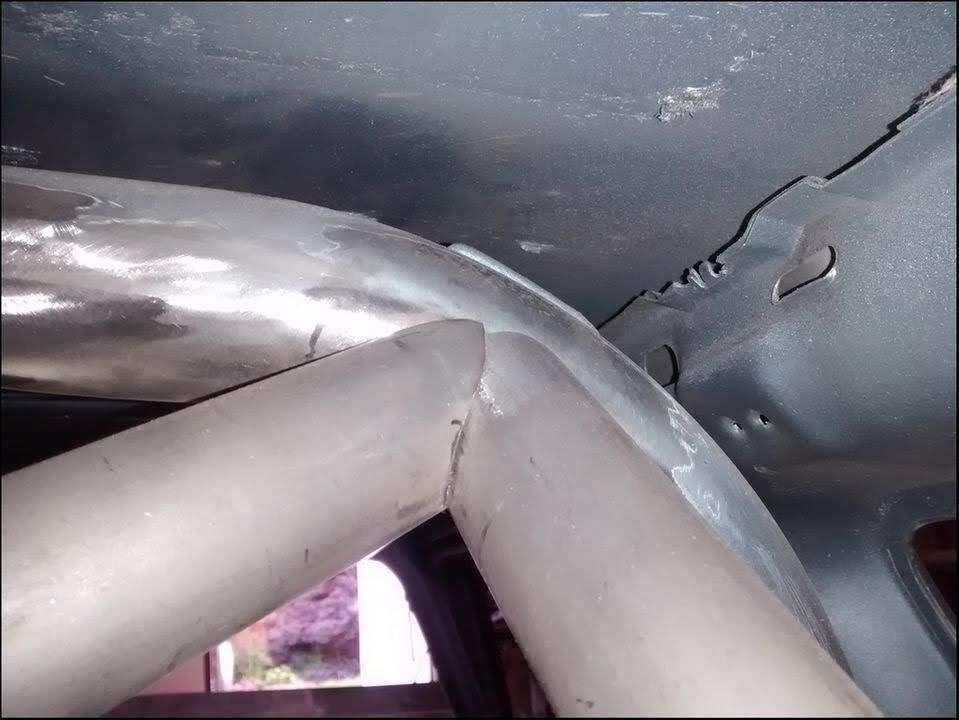
Welded
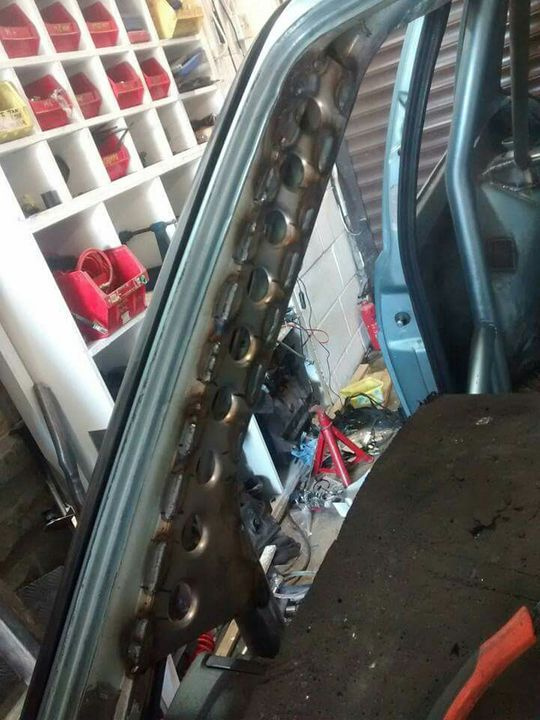
Quick whizz over with a wire brush to tidy

The A Pillar to gusset was particularly tricky with it being pretty thin steel

I also did the B pillar to B hoop.
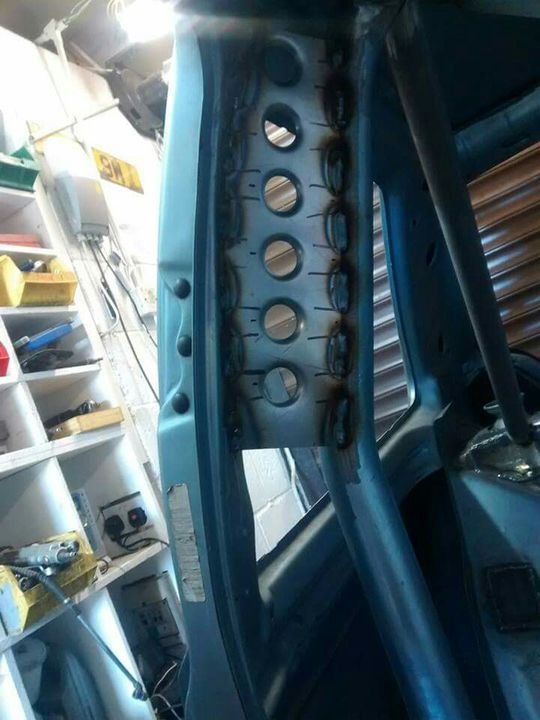
Repeat for passenger side and behind the interior mirror
Just needs painting now 

Rear Cage Mods…
My cage is an OMP 6-point bolt in. I`ve added to it over time, including Door X bars, B foot to B foot bar across the car, from the A hoop to the front turrent, triangulating into the door X.
I`ve never touched the rear, apart from adding a harness bar and it irritated me.
The rear stay only went to the wheel arch, which is thin and bendy.

As part of my `Tidy up`, I decided to sort it once and for all…
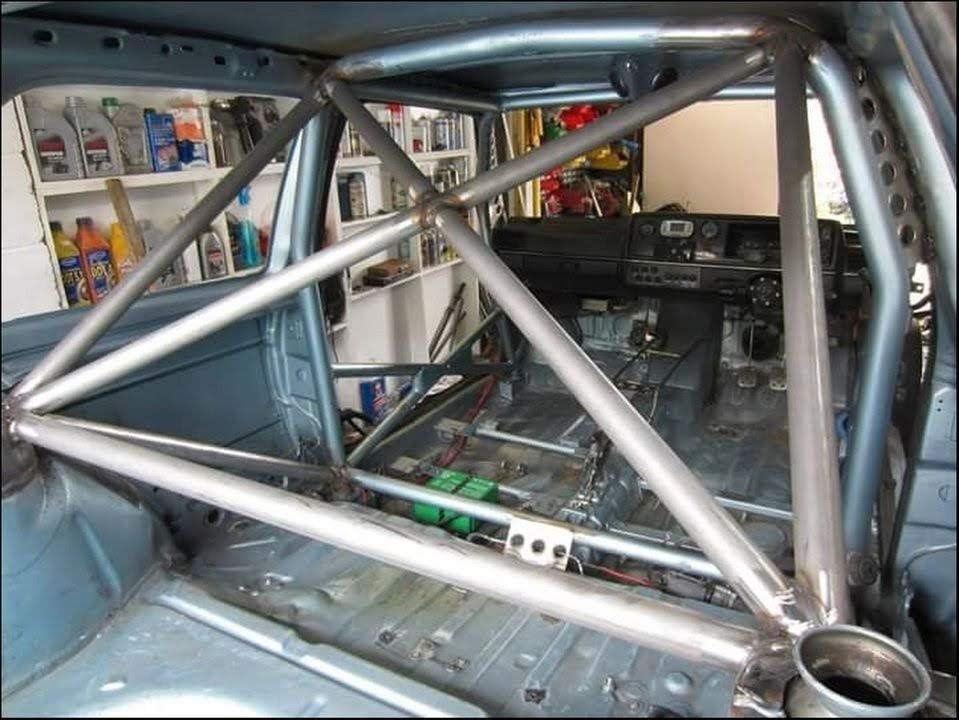
Cut out the rear stays, strut bar and diagonal

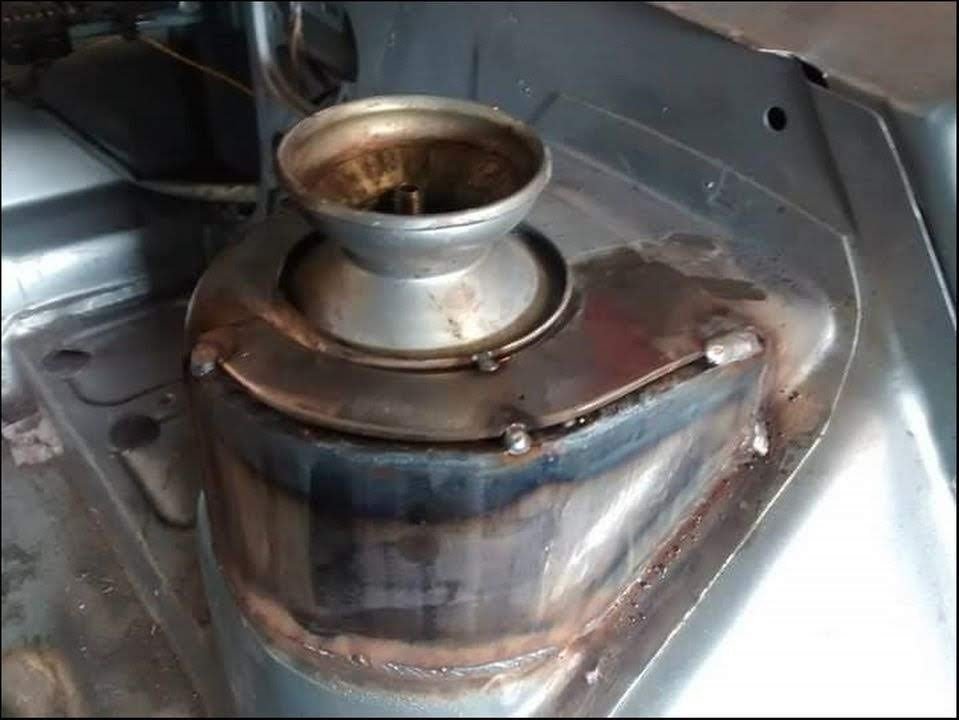
I wanted to triangulate from the rear turret, so paint was ground off

I made some plates from 3mm steel and bent them to suit


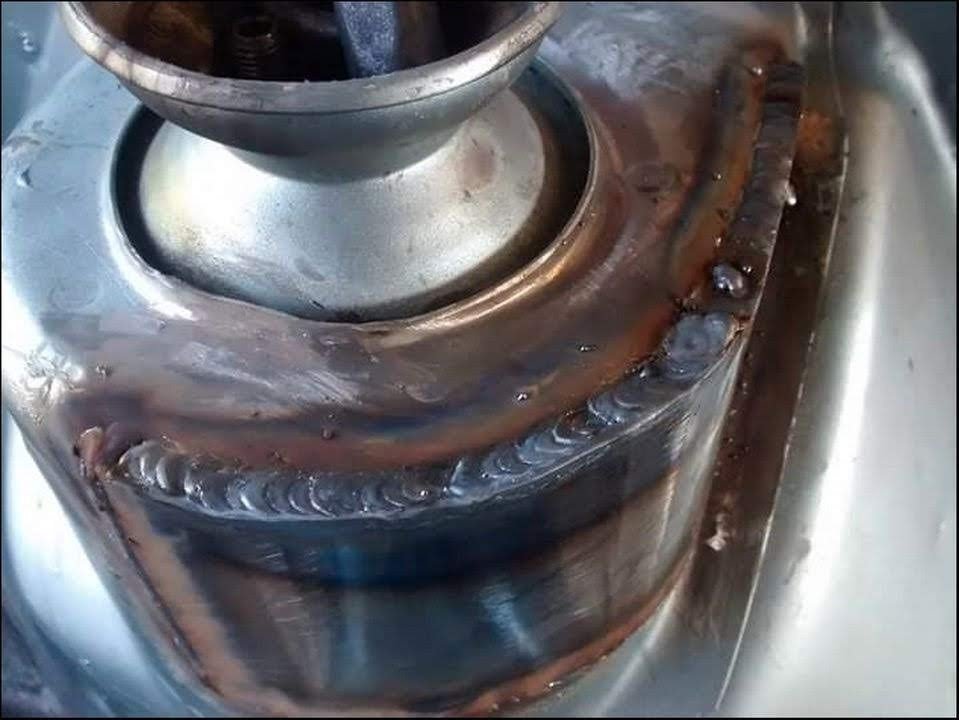
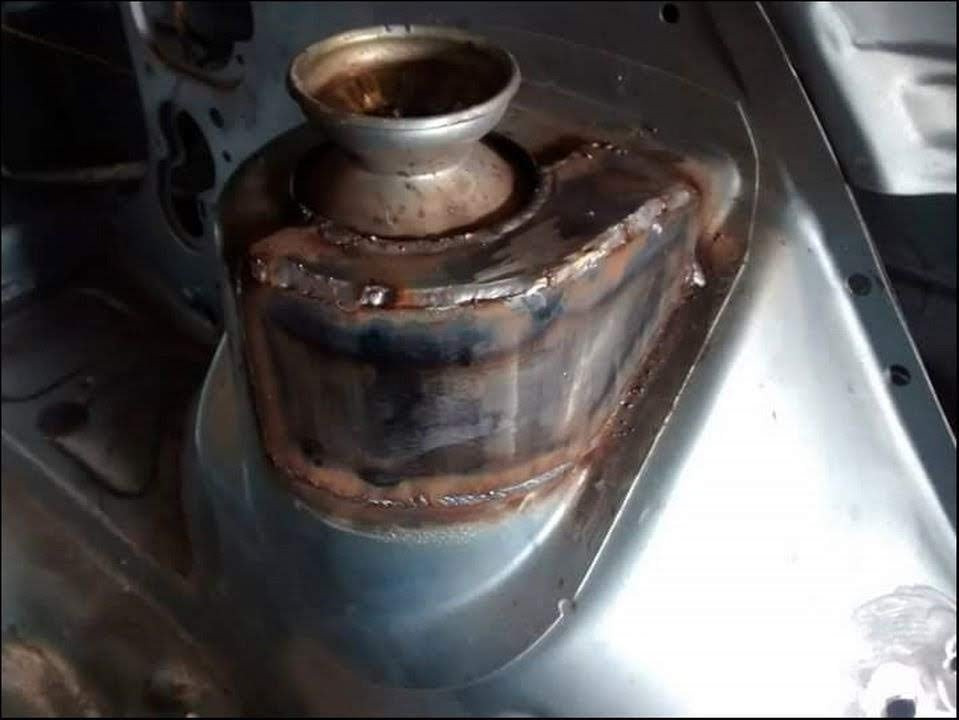
Welded in place


Made a top plate, again from 3mm.

Welded

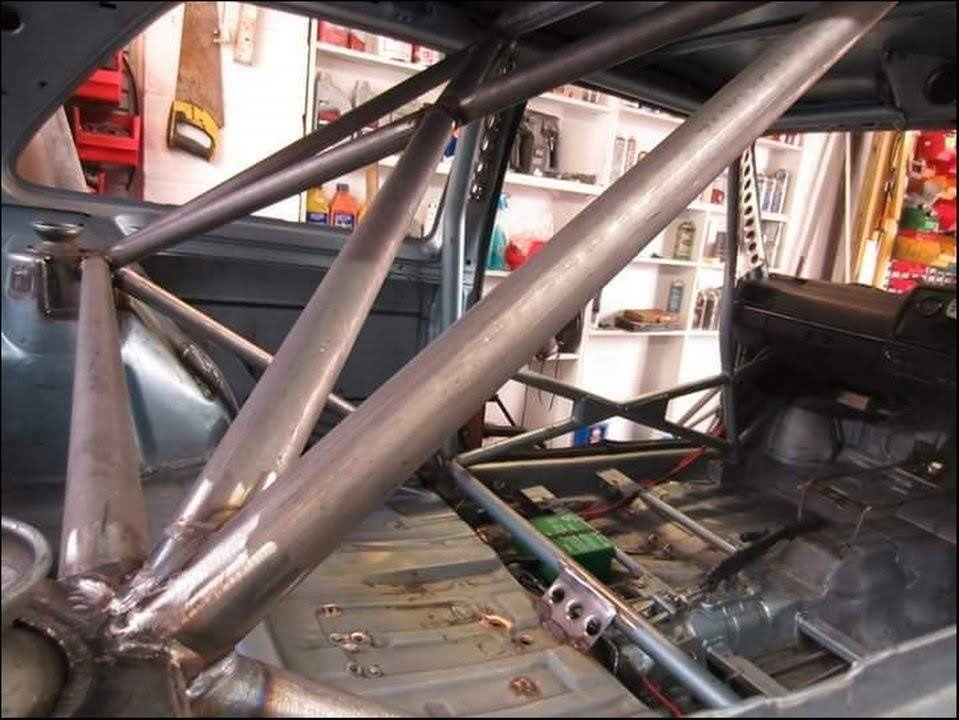
Bought several metres of CDS. Started cutting and profiling. I didn`t rush, took a little off each time and I`m VERY happy with how it went.
Nearside stay and turret bar

Add a diagonal
And on the B hoop

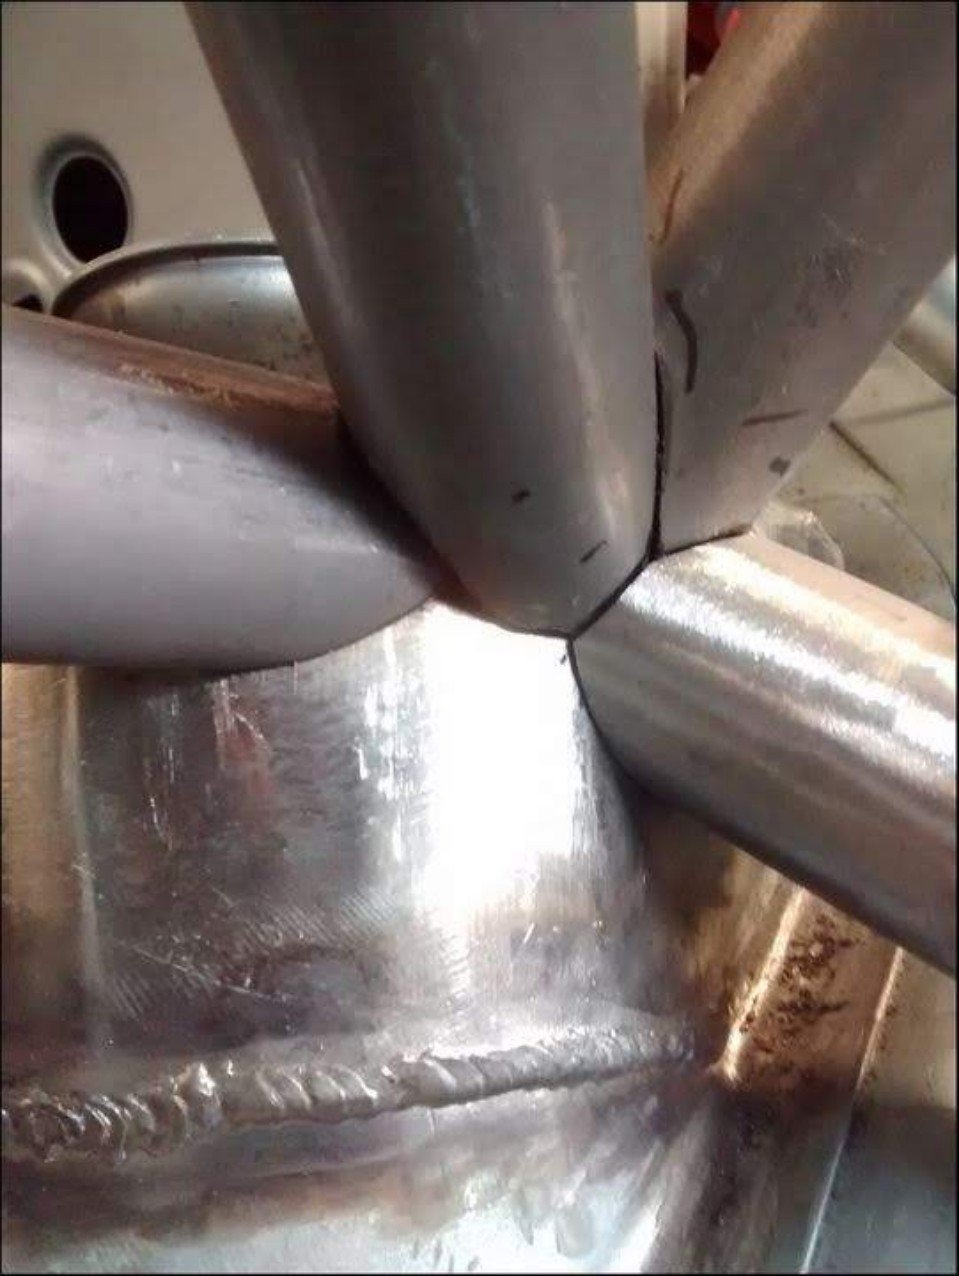
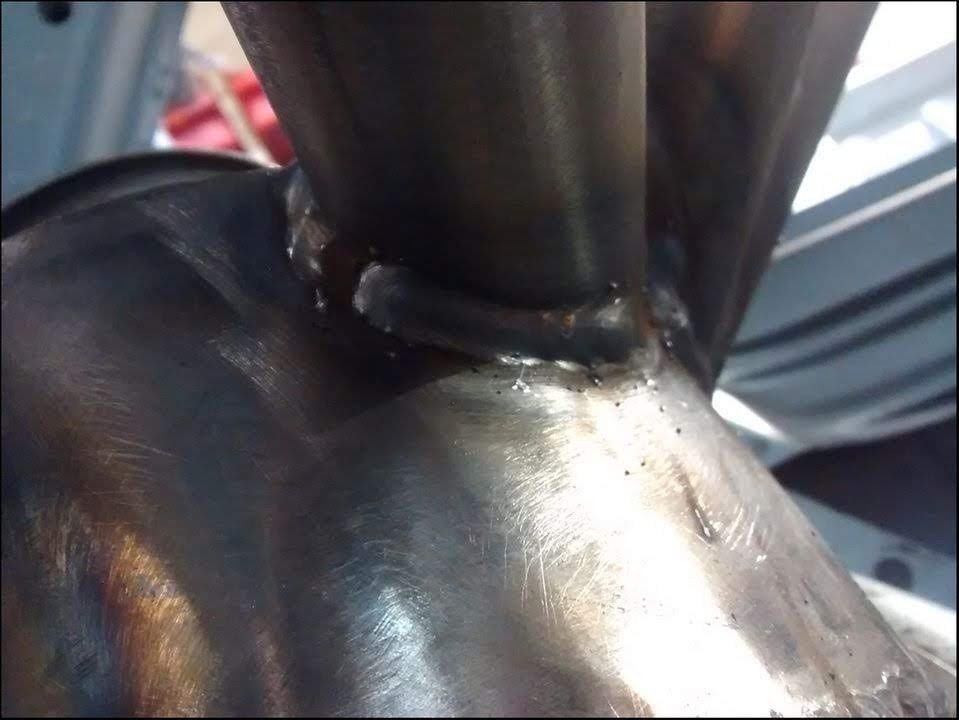
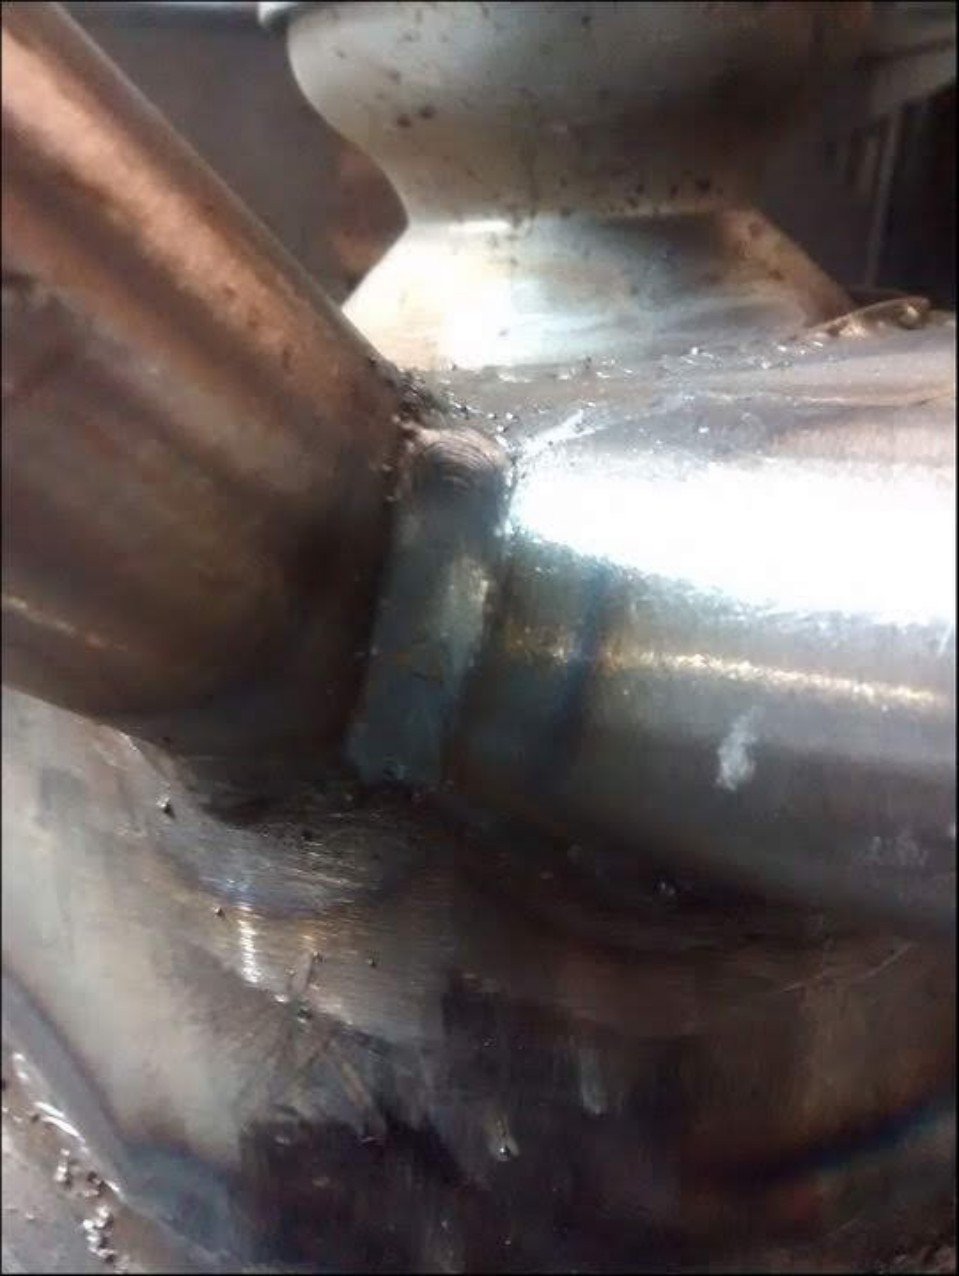
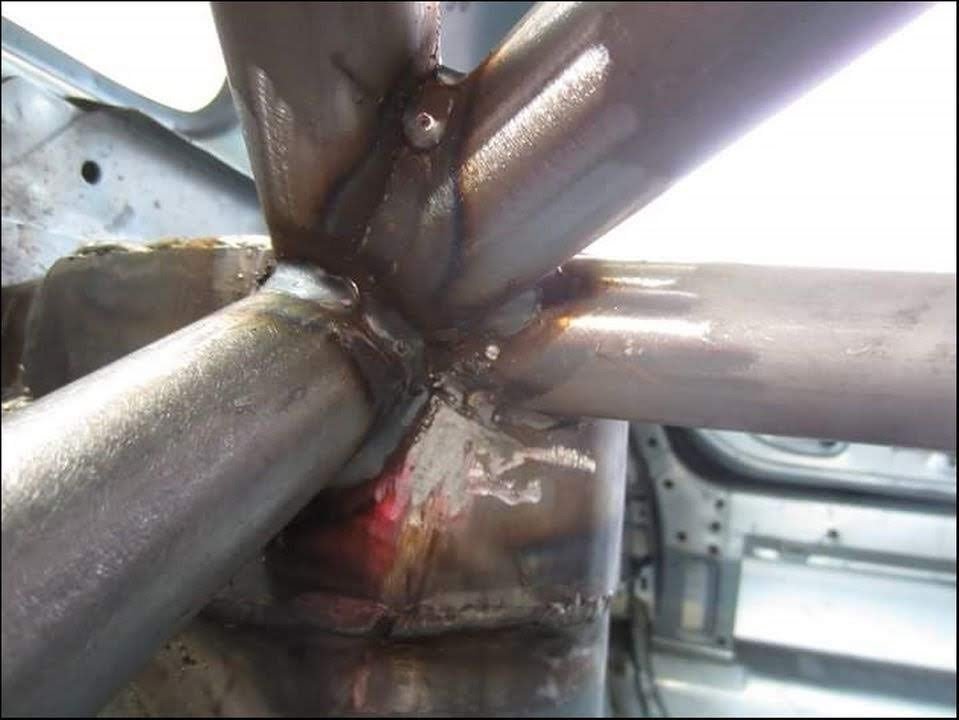
End up with 4 tubes at each turret. ! It`s also a case of thinking how you`ll fit and weld them, so they are tacked in place, but then all removed and welding from the first one to the last, adding each tube once the previous one is fully welded

Adding the rear X


Tacked


Offside


Almost done

Rear stay to B hoop


offside turret


A little weld splatter, but not much

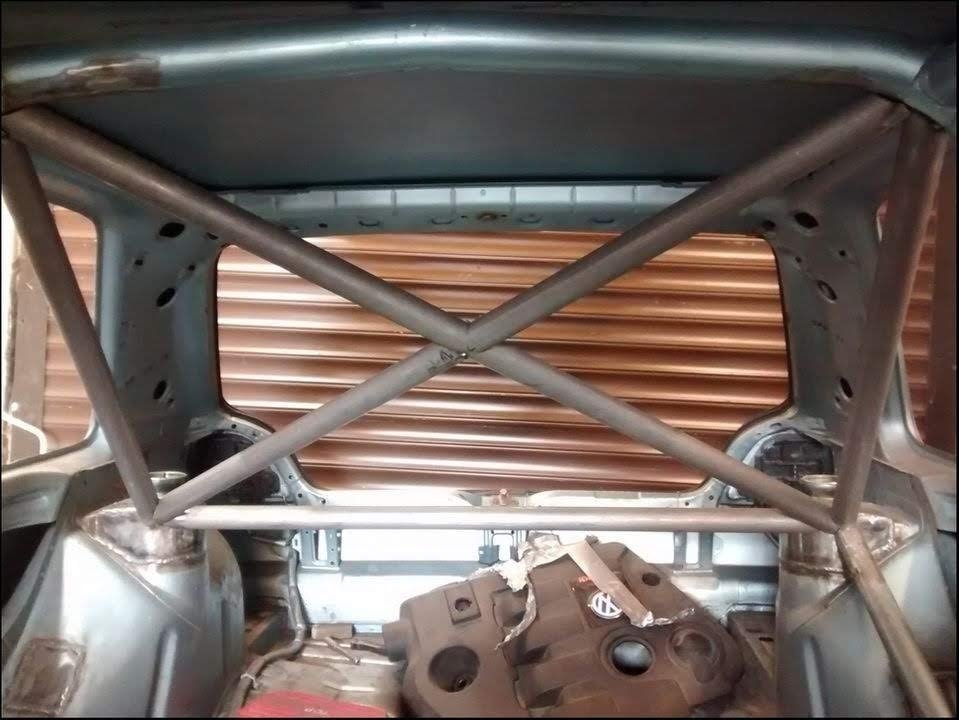
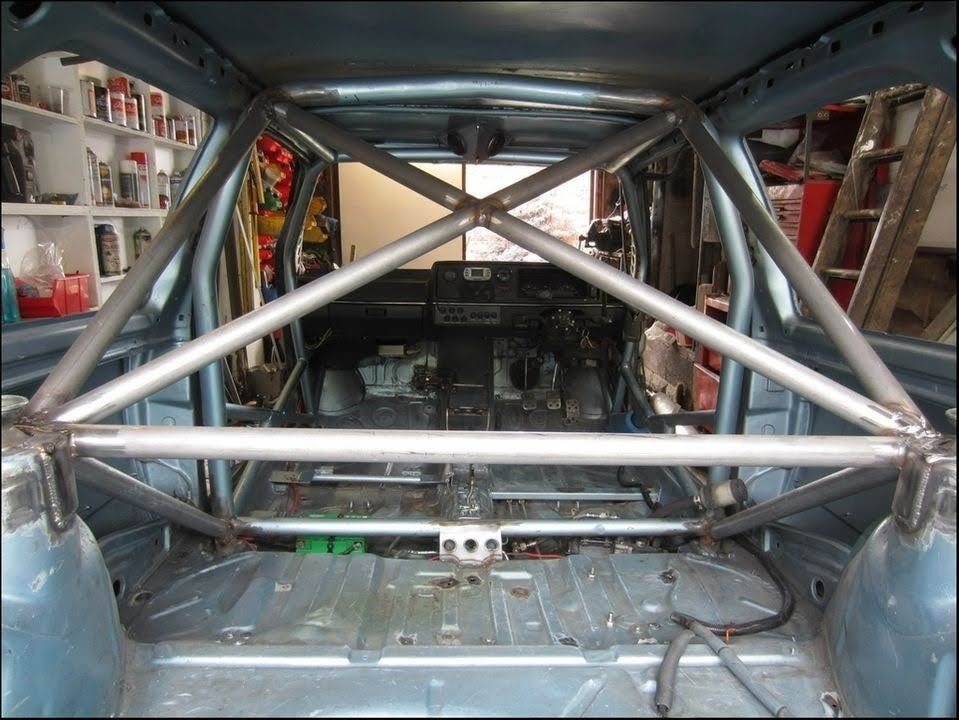
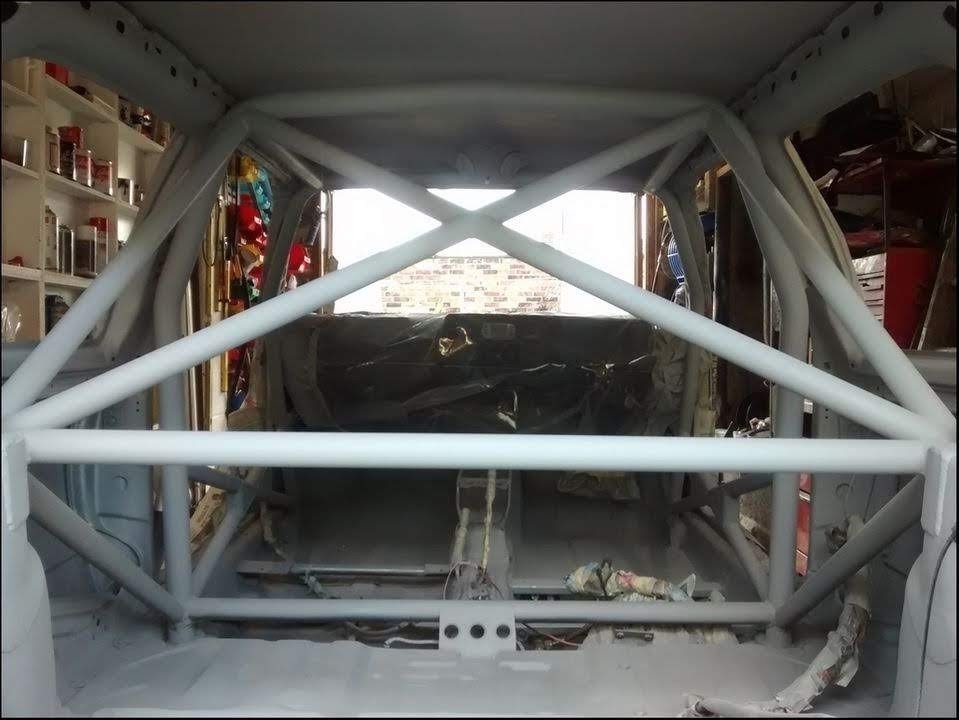
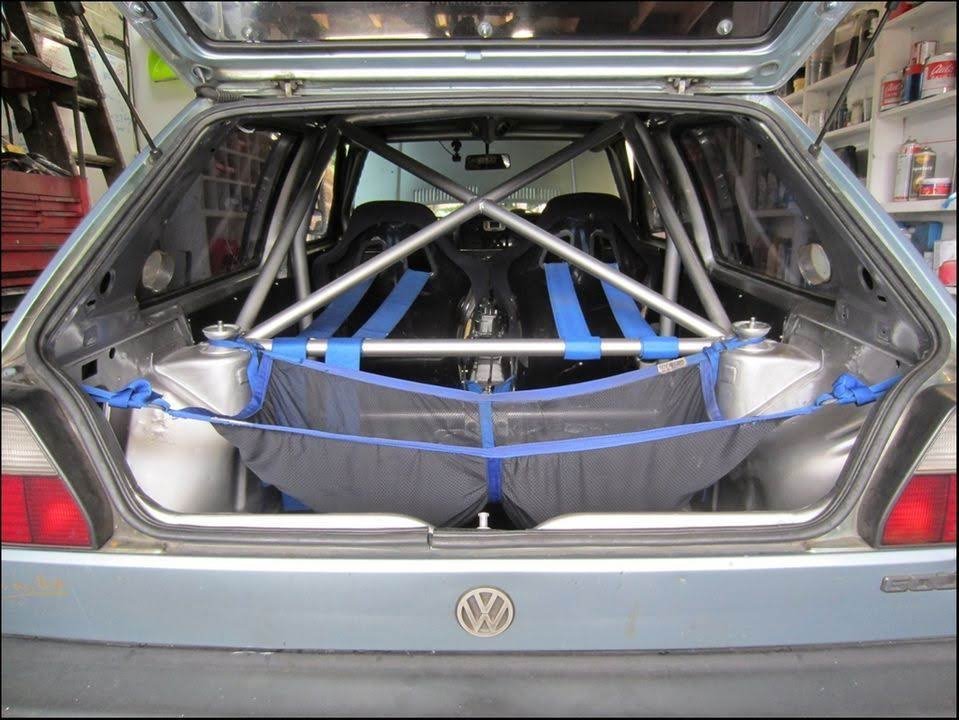
Finished, Rear X, strut / harness bar, B foot > turret bar


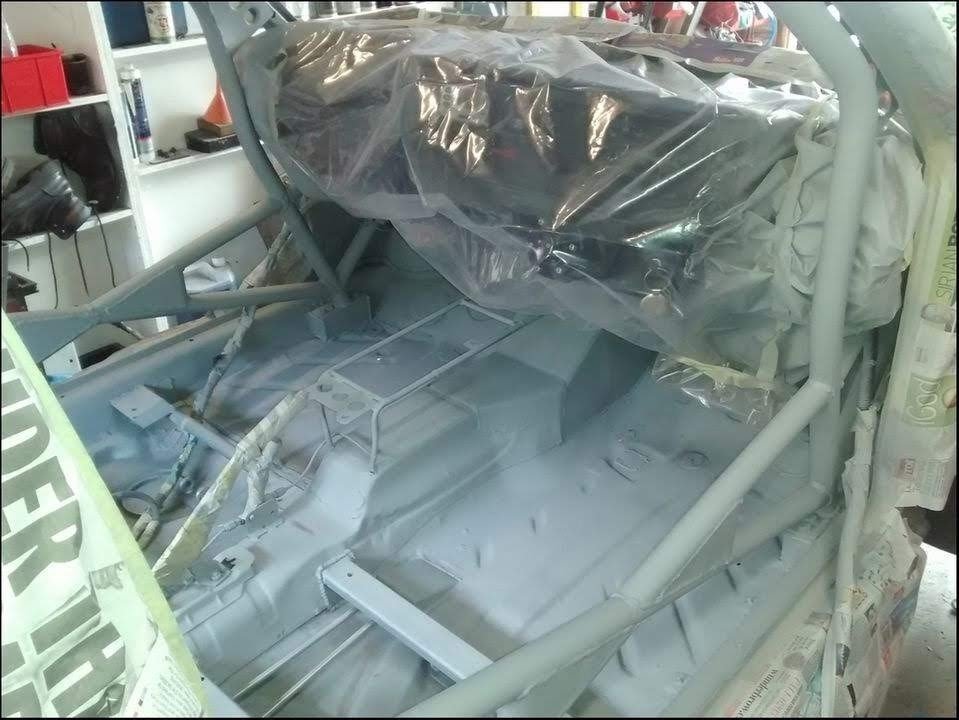
The entire interior was then cleaned, rubbed down, washed and prep-cleaned. Sprayed with 2-pack etch primer


Just need to let it dry and then basecoat it .
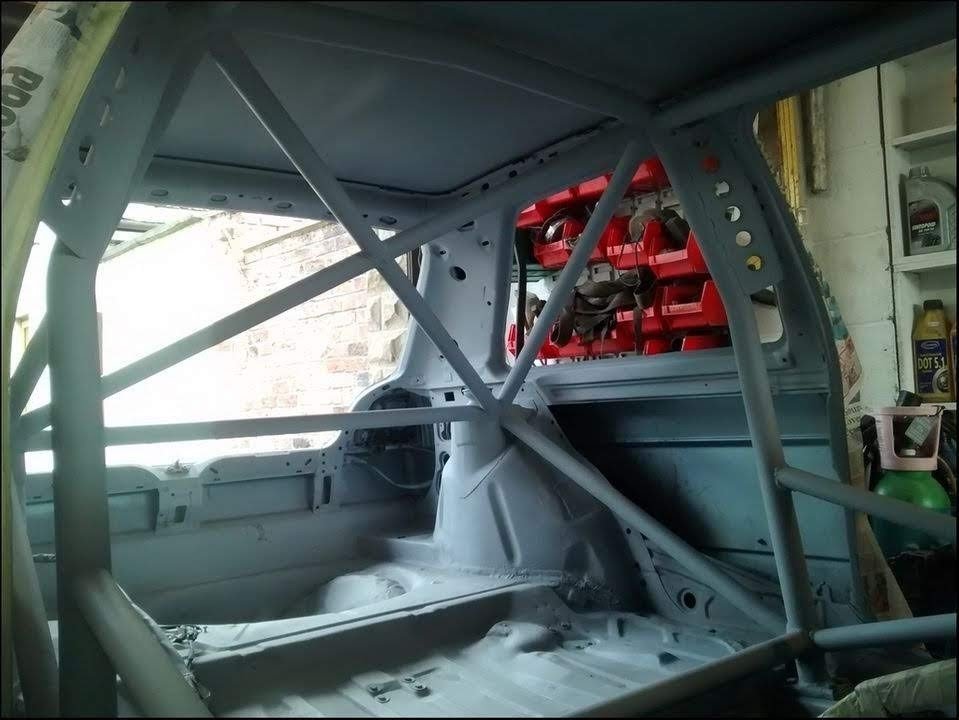
I weighed the rear bars and the extra diagonal and B foot >turret bars add 6kg to the previous setup, which I`ll live with !!
Painted the inside. Stan lent me around 25 tins of paint so I could paint small squares everywhere to find a colour I liked. Thanks mate
Sprayed the interior, etch primer, basecoat and laquer. Took bloody ages too. Refitted the interior. Made some rear-quarter covers to tidy it up and also covered the spare-wheel well which was pretty messy after the `rearrangement` to allow the silencer to clear…


That`s just about completed cosmetically. Need to buff the rear-quarters. If they don`t come up, I`ll spray them. The tailgate and roof also needs doing, but that won`t be until after DN12.